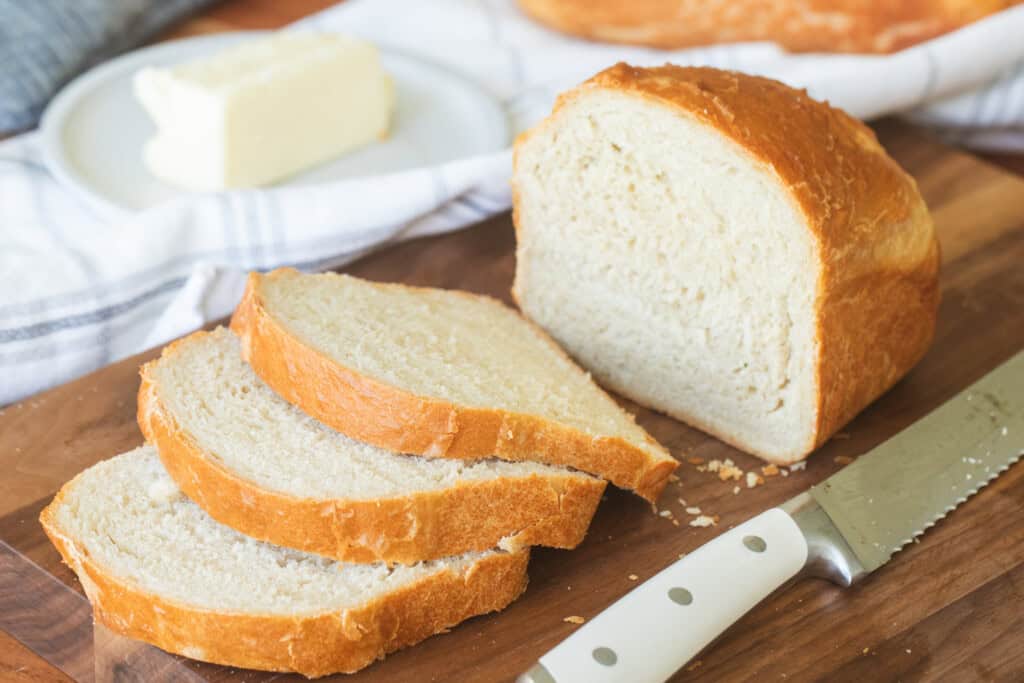
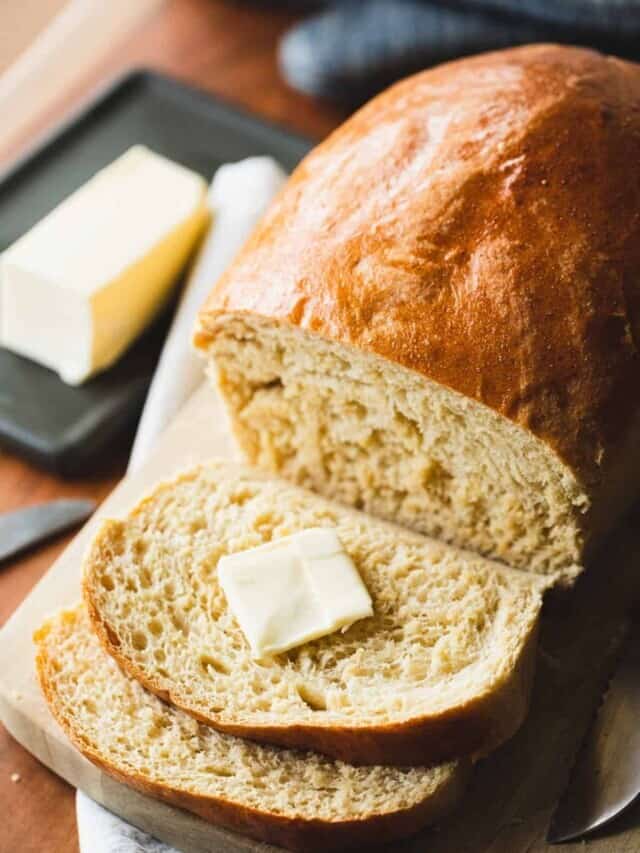
Get ready to bake your own delicious 5 Ingredient Bread! An easy recipe made with pantry staples and no-kneading, it is perfect for beginning bakers.
Tender and flavorful it is the perfect recipe for sandwiches or enjoying as toast. You will never want to buy store bought bread again.

This may be one of my favorite family recipes purely because of it's orgin story.
You see, when my grandma realized she was going to be marrying my grandpa, she asked his mom to teach her this recipe. That way he could always have his favorite sandwich bread. They still make this easy 5 ingredient bread once a week, to this day.
Tender and full of flavor, 5 Ingredient Bread makes great sandwiches! So easy to make it is perfect for enjoying with our cashew chicken salad or as toast.
If looking for other yummy bread recipes however you must try our soft dinner rolls and honey wheat sandwich bread.
🥫 Ingredients
We love that this 5 Ingredient Bread recipe is made with a simple list of pantry staples and a stand mixer. (I would suggest using some kind of stand mixer like a KitchenAid or Bosch mixer as the dough is VERY sticky.)

- Active Dry Yeast
- Water
- Honey
- Salt
- Bread Flour (all purpose flour will also work)
(Scroll down to the recipe card for exact measurements and full printable instructions.)
🥣 Step-by-Step Instructions
Activate Yeast
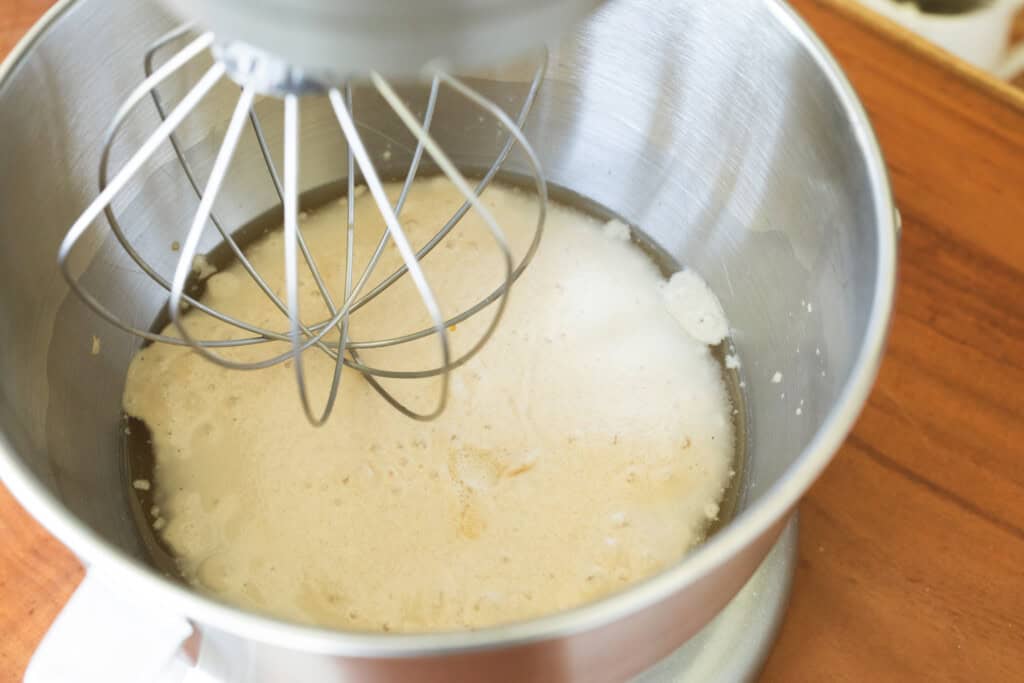
Stir and dissolve your yeast and honey in a stand mixer with the warm water. Be careful that your water isn't too hot or it will kill your yeast.

Then you want to allow the yeast mixture to activate. You can tell it is activated when it starts to look frothy and bubbly on the surface. This should take about 5 minutes.
Yeast is what allows bread like your 5 Ingredient Bread to rise. Using fresh yeast that is active is important. If after the yeast sits for 5 minutes and it doesn’t get frothy or foamy, your yeast may no longer be active.

Which means your bread may not rise properly. If the yeast fails consider purchasing fresh yeast and starting over for the best results.
Prepare Dough
After activating the yeast go ahead and add salt to the bowl of 5 Ingredient Bread. Then slowly stir in 3 cups of the flour into the mixer one at a time. The mixture will be runny and questionable, just trust the process.

Afterwards cover the mixing bowl and place it in a warm sunny place for 20 minutes. The dough will double and take on a wet sponge like texture.

Place your mixing bowl back on the stand mixer with the hook attachment. If wanting to add any extras like chocolate chips, shredded cheese or some cinnamon and raisins (to turn it into yummy Cinnamon Raisin Bread), now is the time!
Then slowly add in the remaining 5 cups of flour to the bowl and mix together. You will want to be careful not to add too much flour. Otherwise you will end up with a tough, dry loaf of bread.
When the mixture is at the right consistency the dough will start to crawl up the hook engulfing the mixer. The dough will still be very sticky or tacky to the touch.

Proofing the Dough
Remove the hook attachment and scrape the dough from the sides of the bowl. Afterwards you will again cover the bowl and place it back in a warm spot until the dough has doubled again, in size. This should take between 1.5 - 2 hours.

After doubled in size punch down the dough and allow it to rise for another 30 minutes. While the dough rises for its final time go ahead and pre-heat the oven to 400° F.

Bake the Bread
Grease two baking pans well with butter. Punch down the 5 Ingredient Bread dough a second time and form into two loaves and place in the prepared bread pans.
Place the loaf pans on the center rack of the oven and bake for 20 minutes. After 20 minutes turn down the oven to 325° F. Allow the loaves to bake for an additional 40 minutes at the lower temperature.

When both loaves of your 5 Ingredient Bread are a nice golden brown remove from the oven and gently slide them out of their pans. Lastly, cover each loaf of bread with a light towel and allow it to cool completely before storing or slicing.

💭 Top Tips
Bread making can be a real art – and therefore real intimidating. But have no worries, there are plenty of confidence building recipes out there. This 5 ingredient bread recipe is just that. A recipe that no matter what your previous baking experience is fool proof for even first time bakers.

If there is lots of bread making in your future you may want a bread slicer guide to make the slicing it that much quicker and easier.
🍽 Storing
Homemade 5 Ingredient Bread freezes perfectly and stores so well. Which means it is a great recipe for doubling.
Keep in mind though that because there aren’t added preservatives, it doesn't last as long as store bought bread. So it is important that you store your bread properly to help keep it from drying out or getting moldy.

No matter how you choose to store your bread you will want to ensure each loaf has had the opportunity to cool completely before bagging it up.
Room Temperature
If storing your bread at room temperature it is important to keep it in a cool, dry place for optimized freshness. We love using these reusable airtight plastic bags for storing each loaf of our 5 Ingredient Bread.
Refrigerator
After each loaf has cooled completely it should be wrapped first in plastic wrap and then again in aluminum foil. This will help to keep the moisture in and prevent the bread from drying out in the fridge.
Freezer
If freezing your 5 Ingredient Bread we again suggest wrapping it first in plastic wrap and then in a layer of aluminum foil. This will not only help it stay fresh longer but also help prevent freezer burn.

One suggestion though if freezing your bread is to first pre-slice each loaf. Pre-slicing will makes it easier to pull out a single slice of bread at a time. Keep in mind that homemade bread is much easier to slice if you wait til the next day as it is a little firmer.
📋 FAQ's
Is using fresh yeast really that important?
Yeast is what allows bread to rise. Using fresh yeast in any bread recipe is crucial for soft, fluffy and tender bread. If after the yeast sits for 5 minutes to activate if it doesn’t become frothy or foamy, your yeast may no longer be active.
Which means your bread may not rise properly. If the yeast fails you will want to consider purchasing fresh yeast and starting over for the best results.
How do you keep homemade bread from drying out?
No matter how you choose to store your bread you will want to ensure each loaf has had the opportunity to cool completely before bagging it up. After cooling it is important to seal each loaf.
We can do this by wrapping each loaf in plastic wrap and then again in aluminum foil. This will help to keep the moisture in and prevent the bread from drying out in the fridge or freezer.
What is the best way to get even slices for sandwich bread?
If there is lots of bread making in your future you may want to invest in a bread slicer guide. When slicing loaves like our 5 Ingredient Bread it is much easier to get uniform slices if you wait until the next day when your loaf is a little firmer.
📖 Recipe

5 Ingredient Sandwich Bread
Ingredients
- 1 tablespoon active dry yeast
- 3½ cups warm water
- ½ cup honey
- 1 tablespoon salt
- 8 cups bread flour
Instructions
- Add warm water, honey and yeast to a stand mixer with a whisk attachment. Stir together briefly.
- Let the yeast mixture sit for 2-4 minutes. Add salt to the bowl and slowly stir in 3 cups of flour one at a time. The mixture will be runny and questionable. (Trust the process.)
- Cover the mixing bowl and put it in a warm, sunny place for 20 minutes till the mixture appears sponge like.
- Put mixing bowl back on the stand mixer with the hook attachment. Slowly add the remaining 5 cups of flour to the bowl and mix together. (When the mixture is at the right consistency the dough will start to crawl up the hook engulfing the mixer.) The dough will still be very sticky/tacky.
- Remove the hook and scrape dough from the sides of the bowl. Again cover the bowl and place in a warm spot until dough doubles in size, roughly 1.5 - 2 hours.
- Punch down the dough and allow the dough to rise again for another 30 minutes.
- Pre-heat the oven to 400° F. Grease two baking pans well with butter.
- Punch down the dough a second time and form into two loaves and place in the prepared bread pans.
- Place the loaf pans on the center rack of the oven and bake for 20 minutes.
- Turn down the oven to 325° F and allow loaves to bake for an additional 40 minutes.
- When nice and golden brown remove the loaves from the oven and slide them out of the loaf pan.
- Cover bread with a light towel and allow to cool completely before storing or slicing.


We want to hear your thoughts, leave a comment.