Light, fluffy and soft this classic honey wheat homemade sandwich bread recipe is so good. With simple pantry ingredients and a foolproof process it is easy to always have bakery style bread at home!
This recipe makes three loaves of super soft, tender bread. Perfect for baking and popping in the freezer, I especially love using this bread for toast!
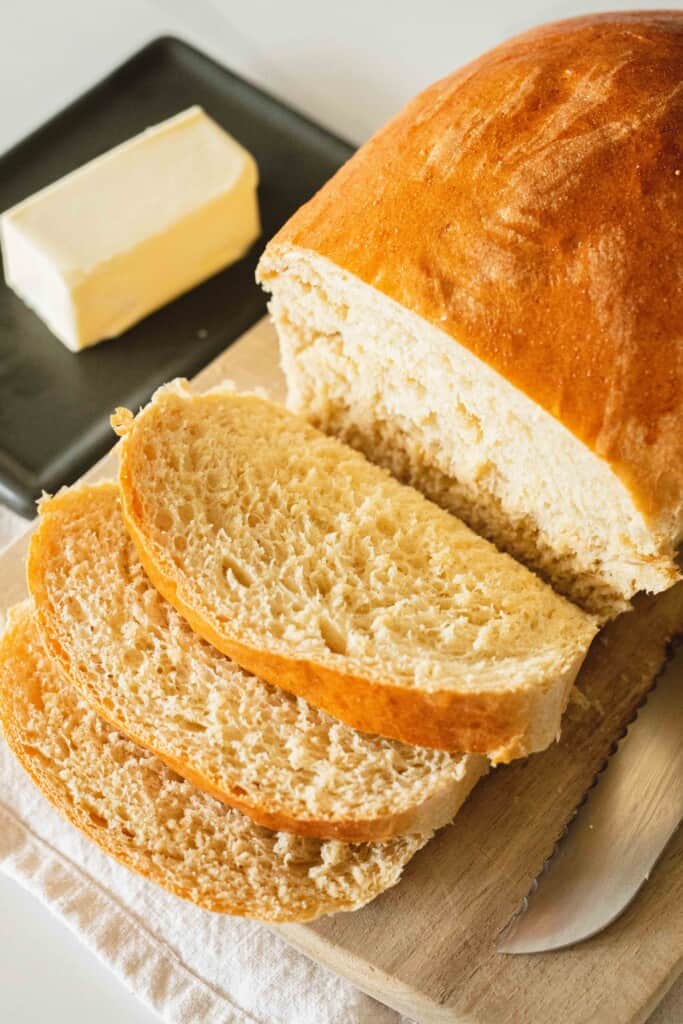
If there was such a thing as a “dump cake” version of homemade bread this would be it! Making homemade bread doesn’t have to be complicated. This recipe is super simple – totally foolproof.
You don't have to be a bread making expert for this one because you really can't mess it up! It is so nice to just dump everything in, mix together and knead away knowing that it will turn out!
This Sandwich Bread recipe comes from my sister Stephanie. It has always been my kid’s favorite. They prefer it more than any other kind of “soft” store bought bread.
We love using our loaves of bread for everything! School lunches, sandwiches, an afternoon snack, toasted for breakfast or served as a side with a dinner like Zucchini and Pesto Lasagna.
Jump to:
🥘 Ingredients
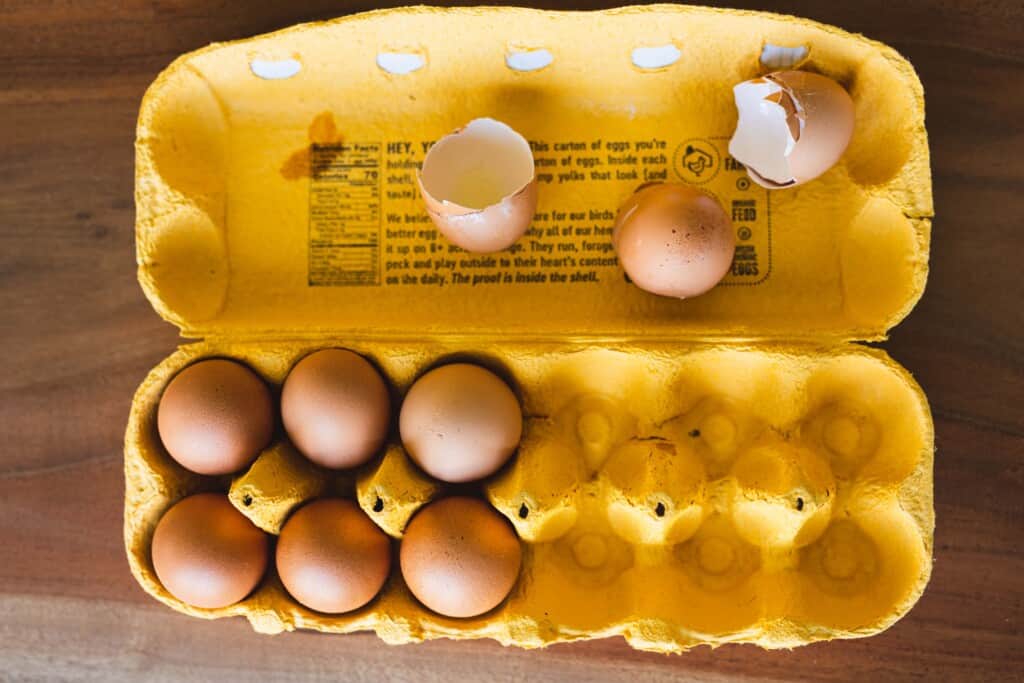
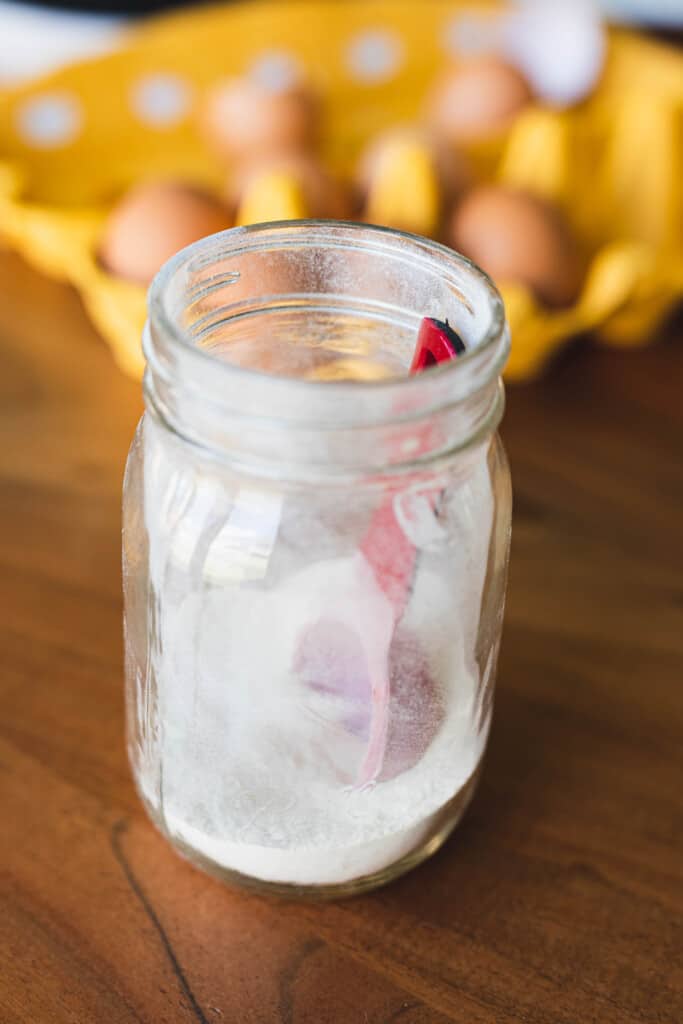
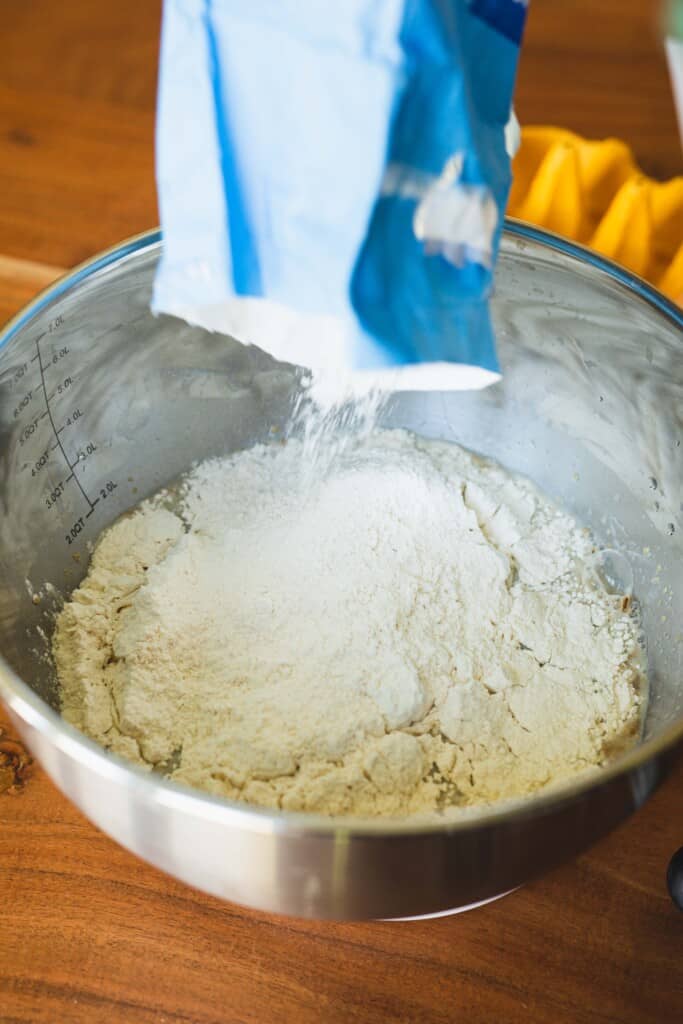
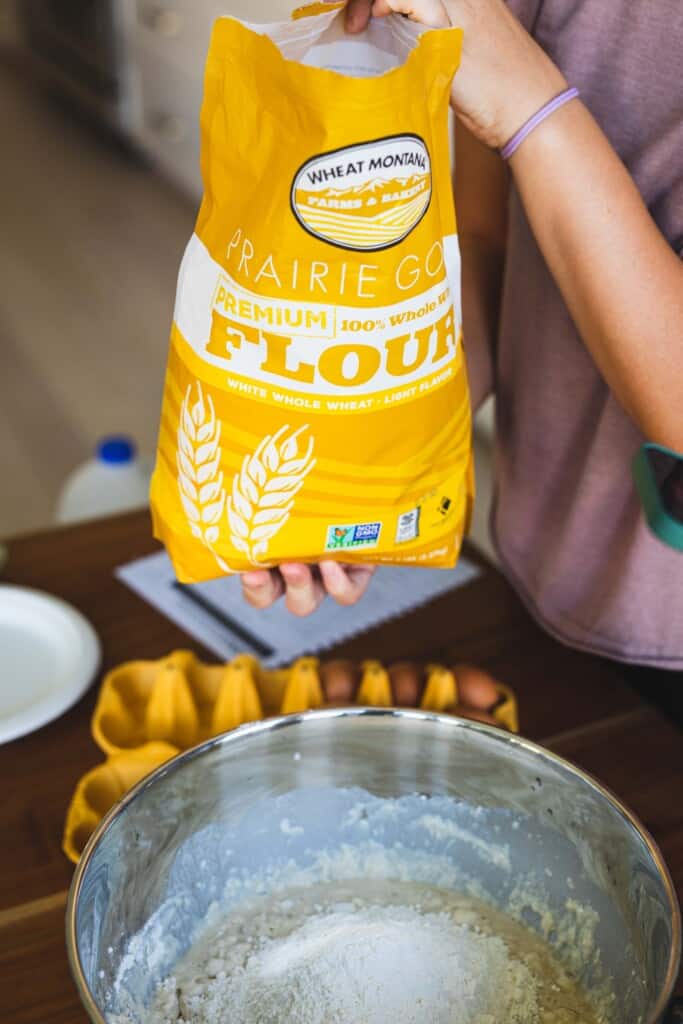
- Combination of Whole Wheat and White Flour - Using a combination of flours will give your sandwich bread a light fluffy texture while still being chewy, and hearty. I use ⅓ whole wheat to ⅔ white flour but you can play around with this and do equal parts flour choose to use only one type of flour if you prefer.
- Water - Make sure to use warm water so the yeast will activate. I set my tap water to hot and it works great.
- Milk
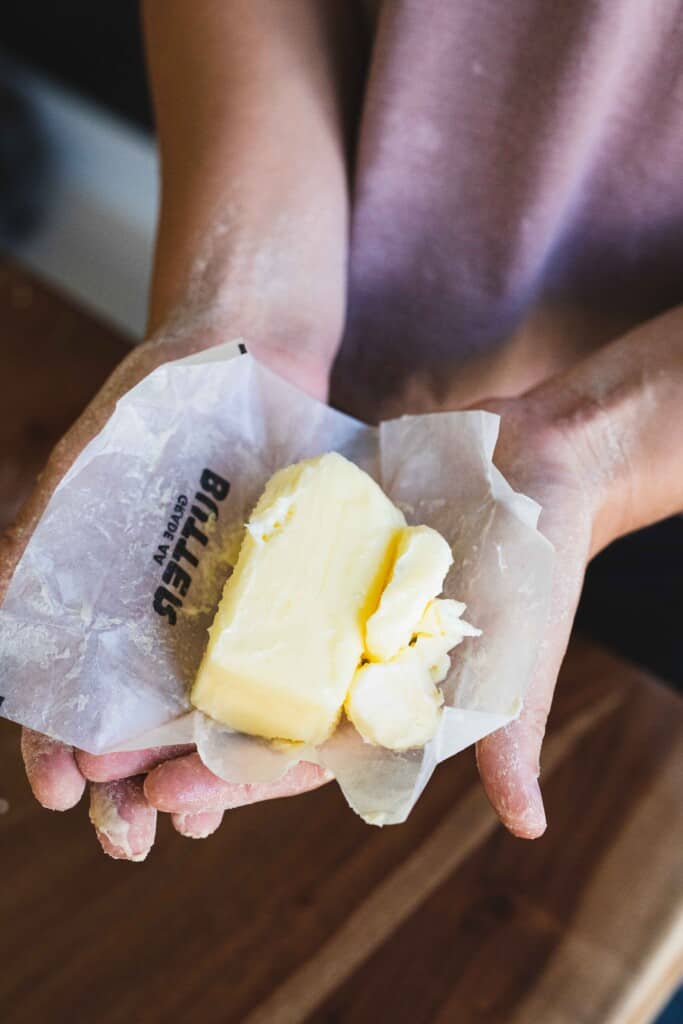
- Butter - You want to make sure your butter is soft. This is KEY. If you have room temperature butter ready to go use that. If you don't have any pre-softened you can melt your butter so it's easy to be mixed in.
- Honey - We like to use honey to sweeten things up, but you can substitute it for sugar if you prefer.
- Eggs
- Salt - Salt is key in most recipes as it really enhances all your flavors.
- Active Dry Yeast - Making sure your yeast is fresh is important! This can make or break having a light fluffy loaf or a dense, heavy loaf.
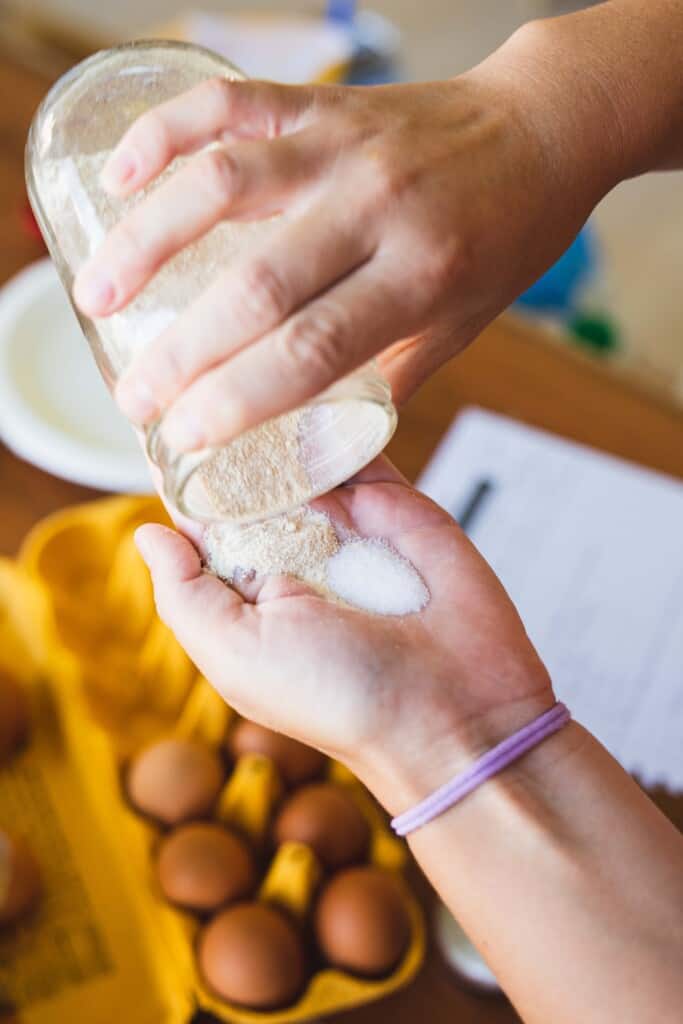
- Dough Enhancer - Adding dough enhancer is totally optional. I like to add it because it does help improve the rise and texture of the bread. It also helps extend the bread's shelf life. Keeping each loaf fresh longer so it doesn't have to be eaten right away.
⚖️ Measuring in Grams
You might notice, instead of using standard measuring cups for this sandwich bread recipe everything is measured in grams. I have found that measuring my ingredients using a food scale helps ensure every loaf is perfect. Plus, no measuring cups and spoons means less dishes!
When I use measuring cups, I worry if I’ve packed the flour or other ingredients too much or not enough. Using a food scale and measuring by weight takes the risk of messing up the dough away.
🍳 Step-by-Step Instructions
Mixing Ingredients
To begin, place your mixing bowl on top of your food scale. Using the scale measure and add your warm water, milk, melted butter, sugar/honey (whatever your preference is). Next, sprinkle your yeast over the top of the wet mixture.
Secondly we are going to add the egg whites. Carefully separate the egg yolks and egg whites, adding only the egg whites to the other ingredients.

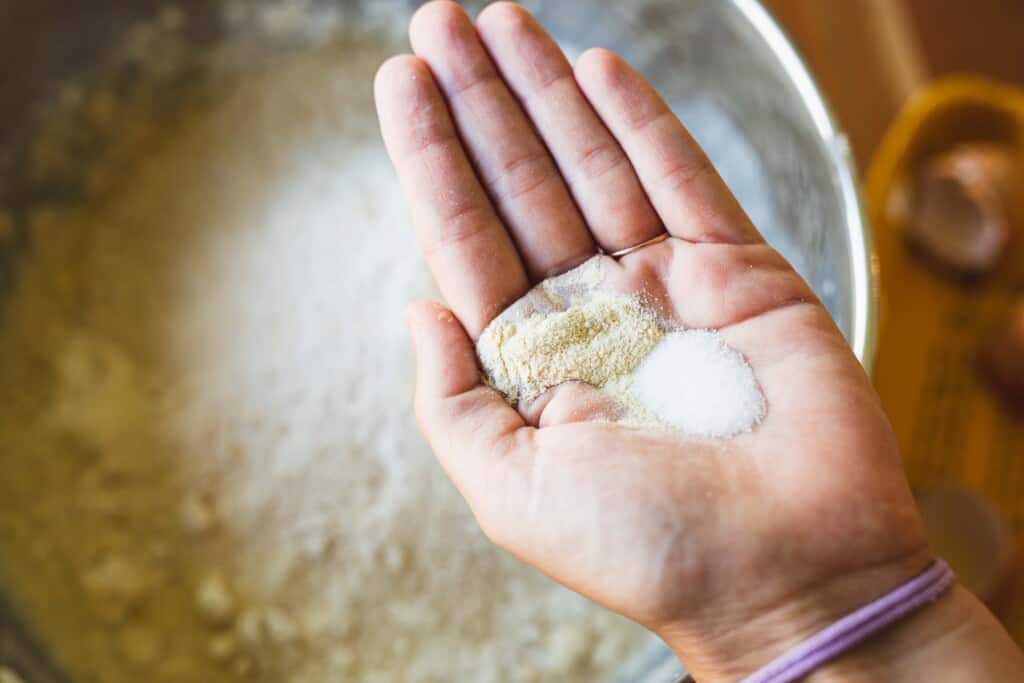
Next add your dough enhancer, salt and flour to the mixing bowl. Begin stirring till dough begins to come together and is harder to stir. It will still be sticky to the touch.
Kneading
Next, cover the counter lightly with flour. Remove dough from mixing bowl and sprinkle top with flour. Now it is time to get kneading.
If unfamiliar with how to knead bread watch our Sandwich Bread Recipe Video above. It will show you exactly what it should look like. But also keep in mind, the original amount of flour is just a starting point. As I knead, I sprinkle the dough with flour anytime the dough sticks to my hands or the counter.
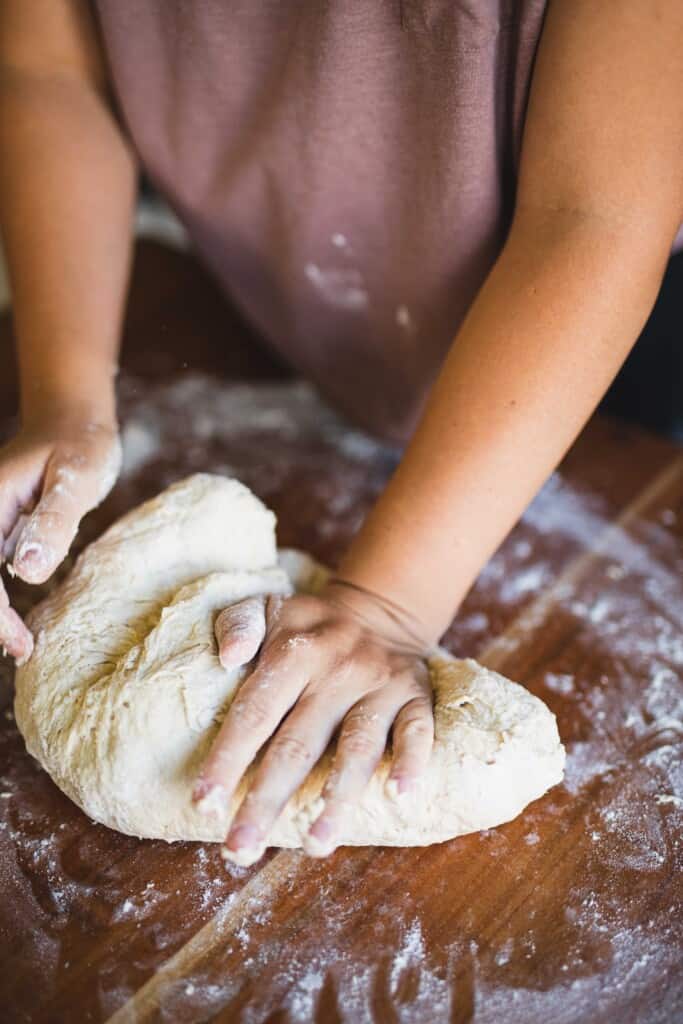
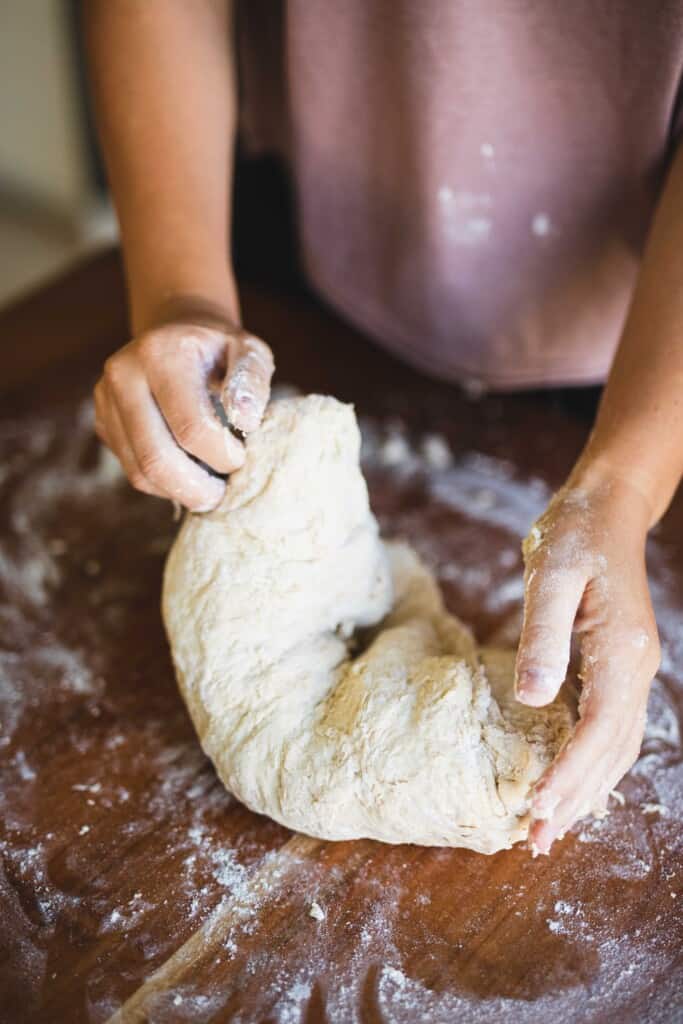
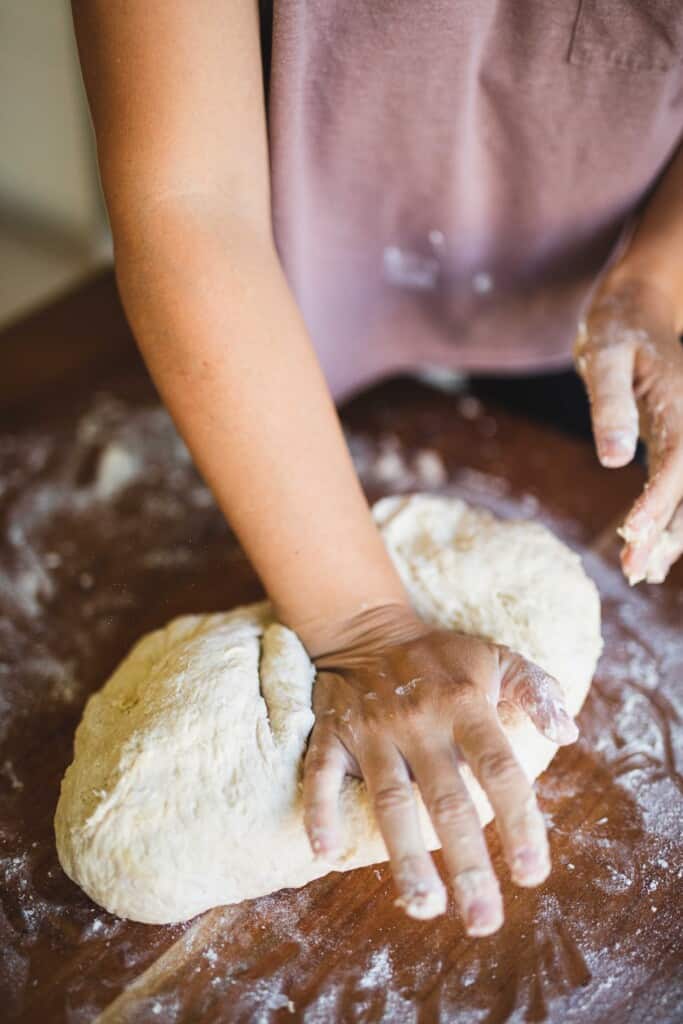
Each “sprinkle” amounts to roughly a tablespoon. I usually end up adding anywhere between a ⅓ cup and ½ a cup of additional flour. The extra flour helps to keep the stickiness under control.
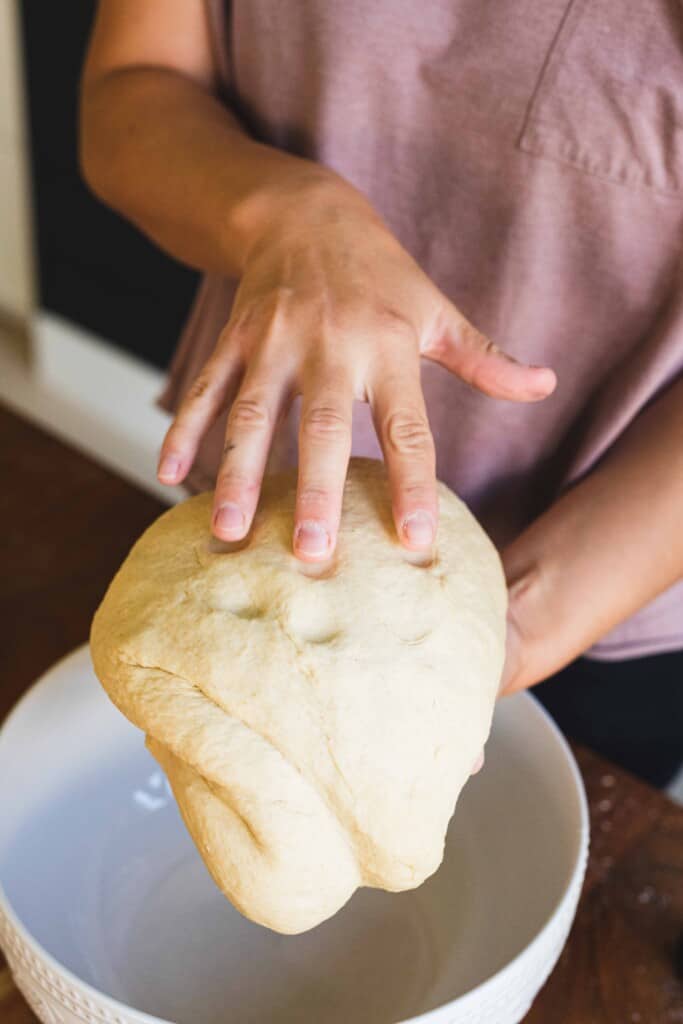
Continue to knead and add flour until the magical moment when the dough comes together. It will feel smooth, elastic and bouncy.
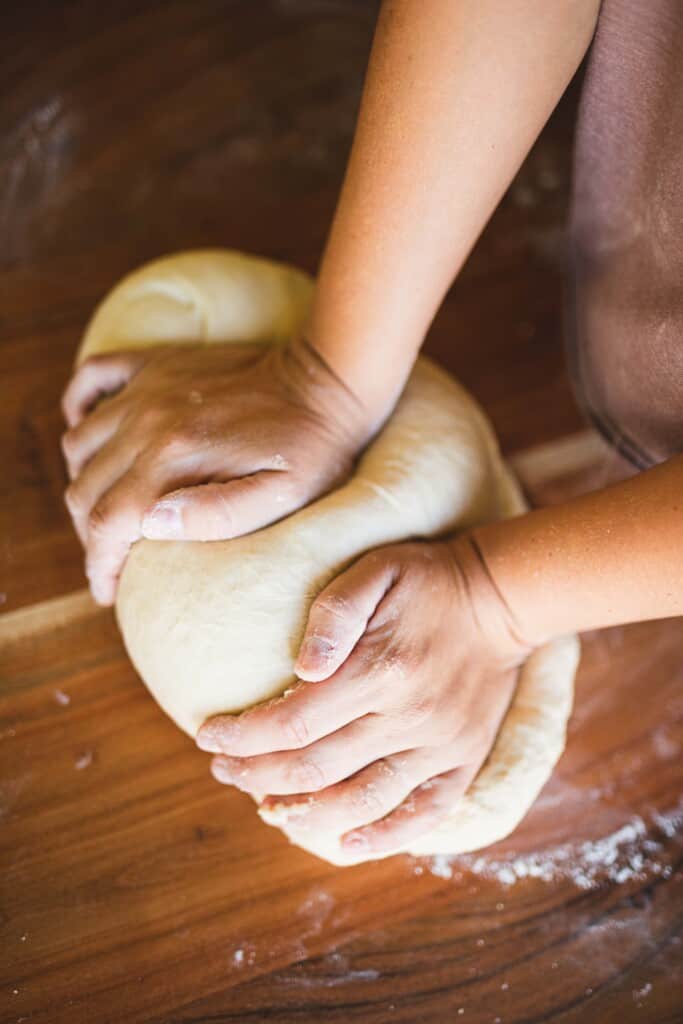
The dough is ready when you can press your finger into the top and after a few moments the indention fades or disappears.
Rise and Proof
Place the dough in a prepared bowl sprayed with non-stick cooking spray. Then, spray the top of the dough with cooking spray and cover bowl with plastic wrap.
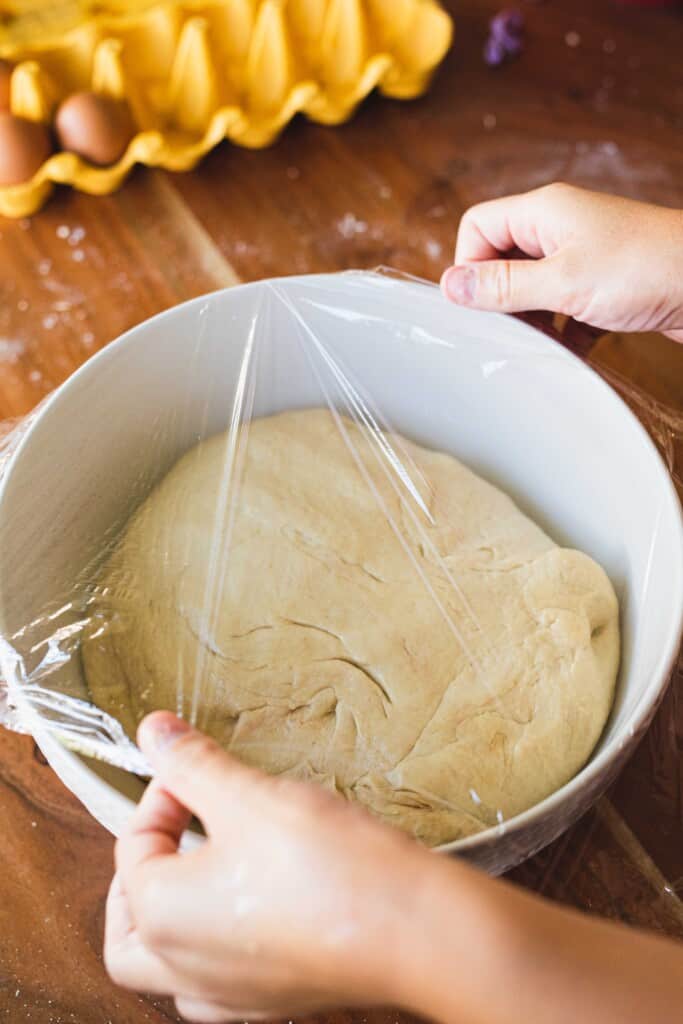
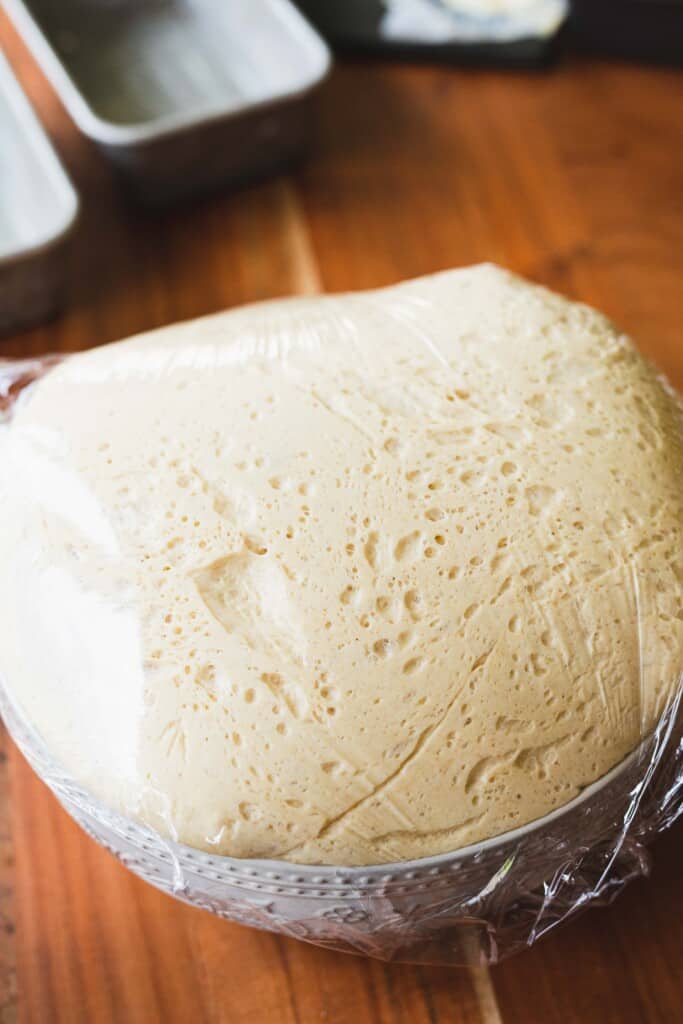
Set aside so dough can rise for nice fluffy sandwich bread. This takes about an hour depending on how warm the room is. Dough doesn’t rise well in my house because I always have the AC blasting. So I like to let it rise outside during summer or near my fire place in the winter.
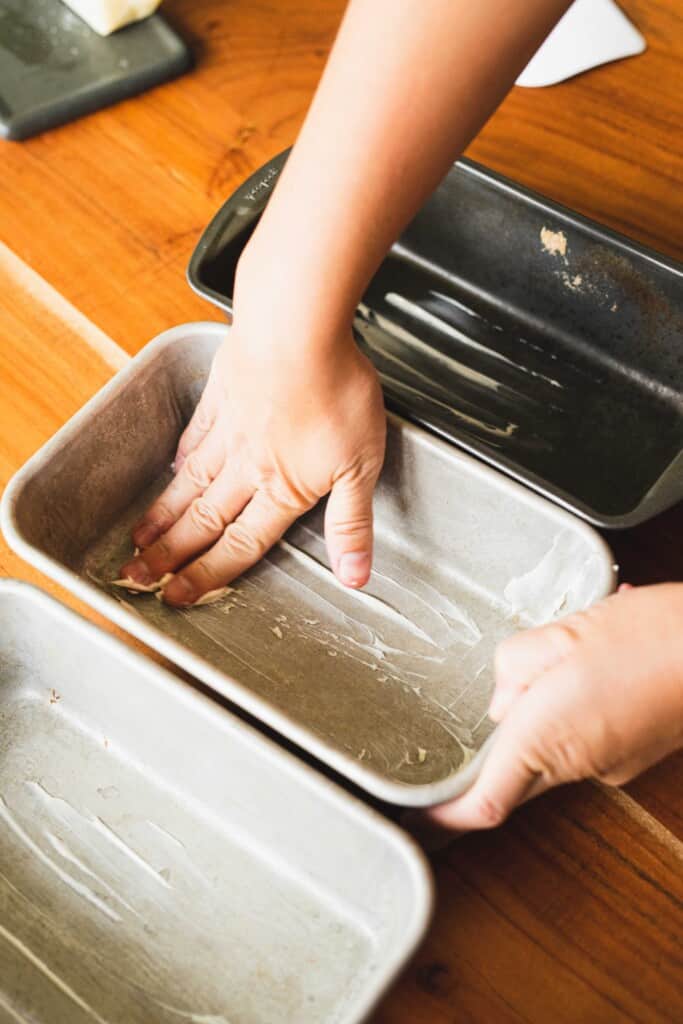
While dough is rising, go ahead and butter/grease each of the bread pans to be used.
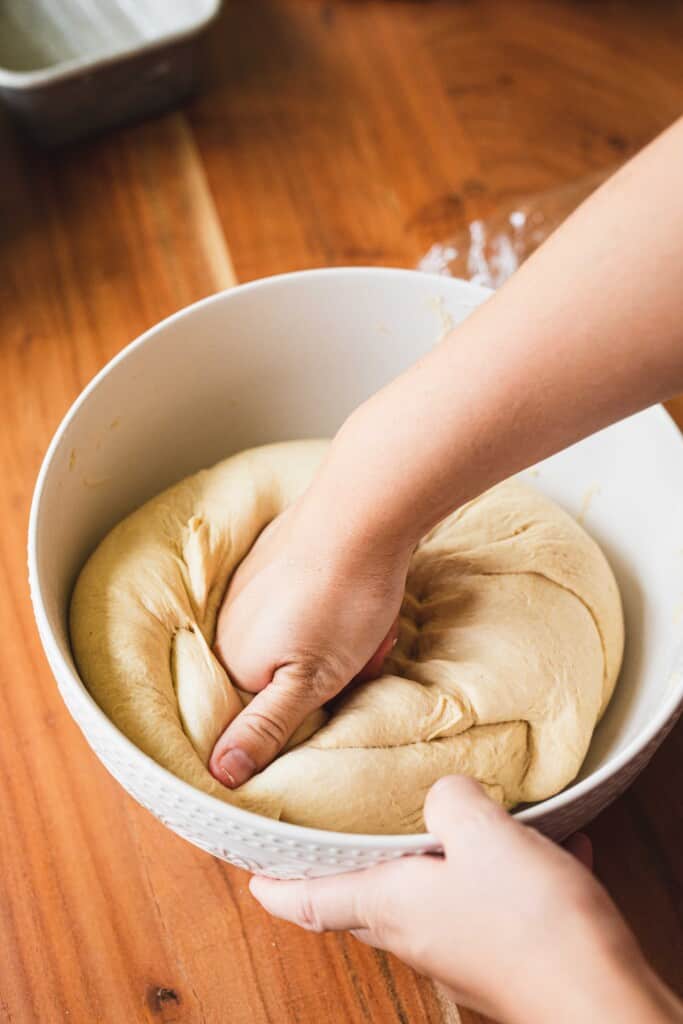
Once the dough has doubled, punch down and divide it into three loaves. This is going to help remove any air bubbles from the dough.
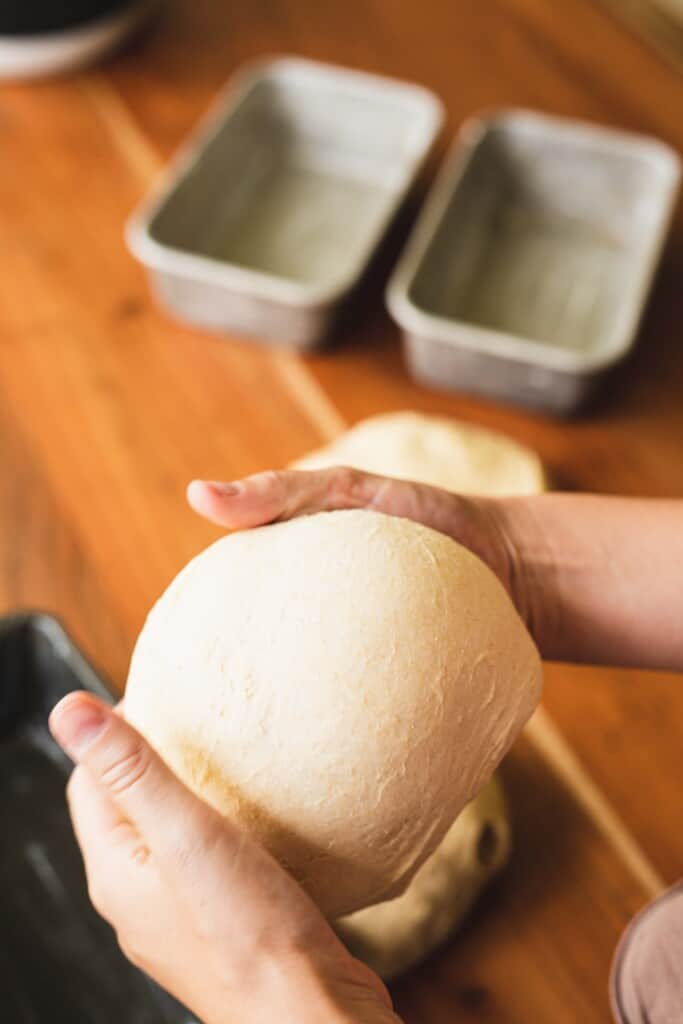
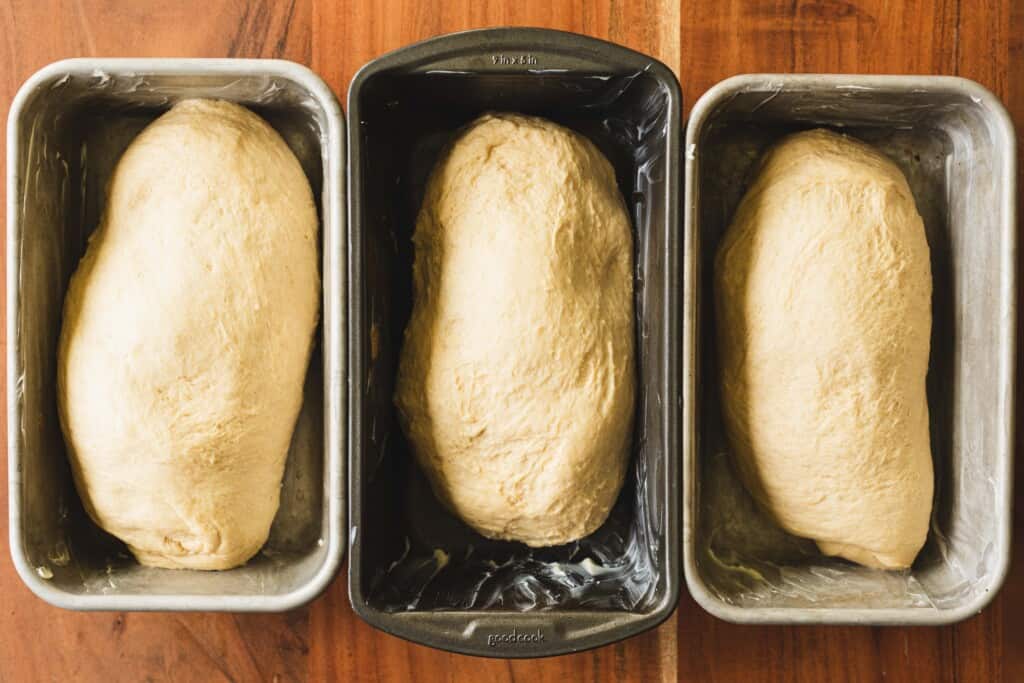
Next, divide the dough into three equal parts. Form each loaf to fit the shape of the pans. Place loaves in a buttered or greased bread pan. I prefer using butter for this.
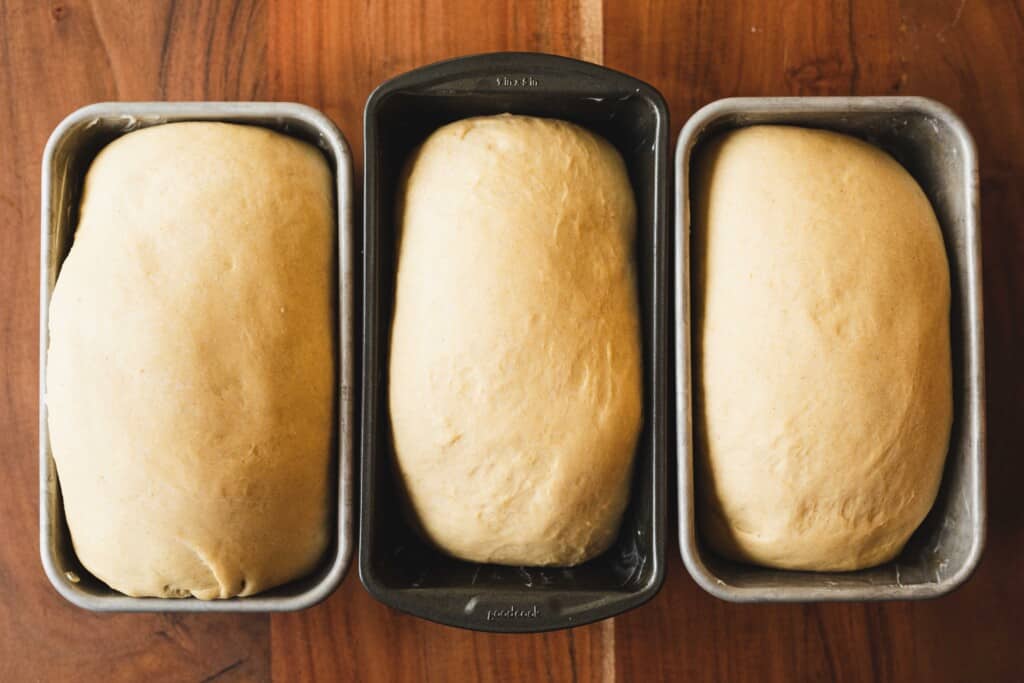
Lastly, let your dough proof (or rise for a second time). When it reaches just a little bit above the rim of the bread pan (about doubled) it is done. This takes roughly 30 to 45 minutes.
Bake and Cool
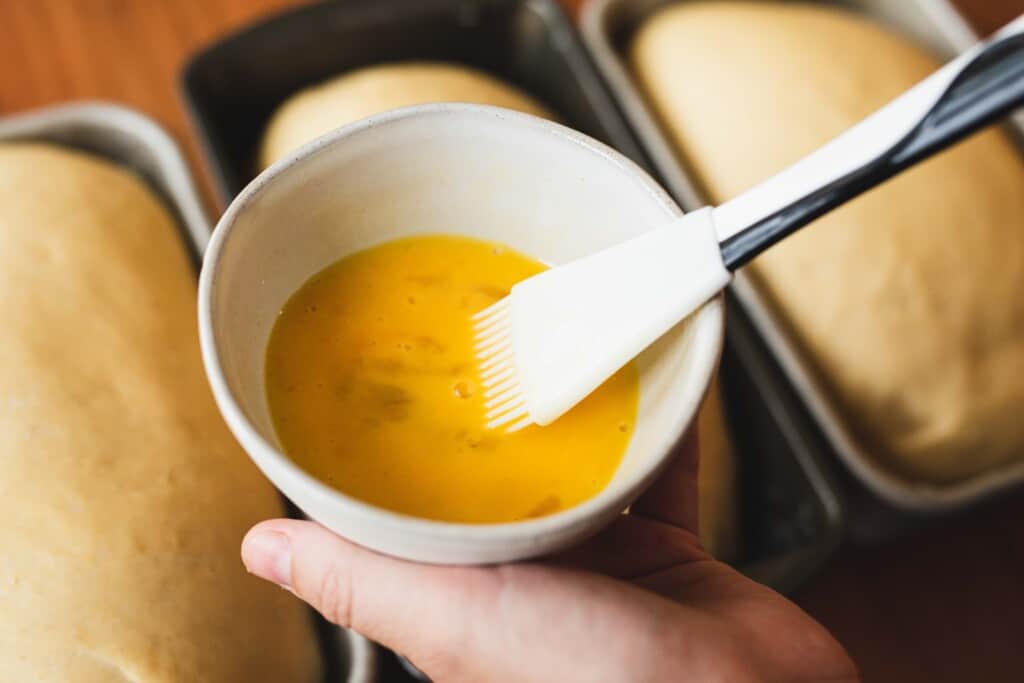
Brush tops of loaves with an egg to achieve golden brown, beautiful tops before placing them in the oven to bake.
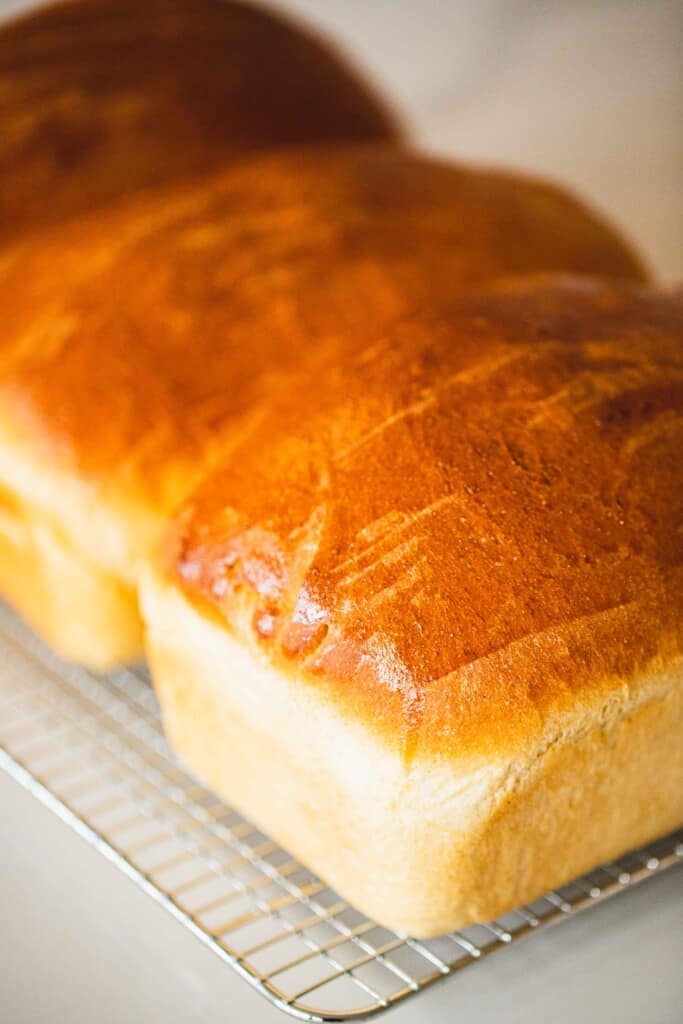
When done baking, pull bread pans from the oven. Immediately remove the sandwich bread loaves from the pan and place on wire cooling racks. Doing this will help to prevent the loaves from becoming soggy on the bottom.
🥗 Side Dish
You can’t go wrong serving a nice thick slice of bread alongside favorite soups like Chicken Noodle Soup or Broccoli and Cheddar Veggie Soup. Or pair it with our quick Chicken Salad for a filling sandwich. Paired with Mango Berry Salad it would make for a delicious and light lunch!
💭 Top Tips
No matter how you choose to store your sandwich bread each loaf needs to be COMPLETELY cooled before storing.
When using fresh baked bread keep in mind, it does not have all the preservatives of store bought bread. This does mean it will not keep as long. If stored in a cool, dry environment it could last for 3 to 5 days. And if living in a more humid climate, it may be as short as 2 to 3 days before mold becomes an issue.
But have no fear! This baked sandwich bread is very freezer friendly! Keep one loaf out to enjoy and freeze the other two loaves until ready to use them.
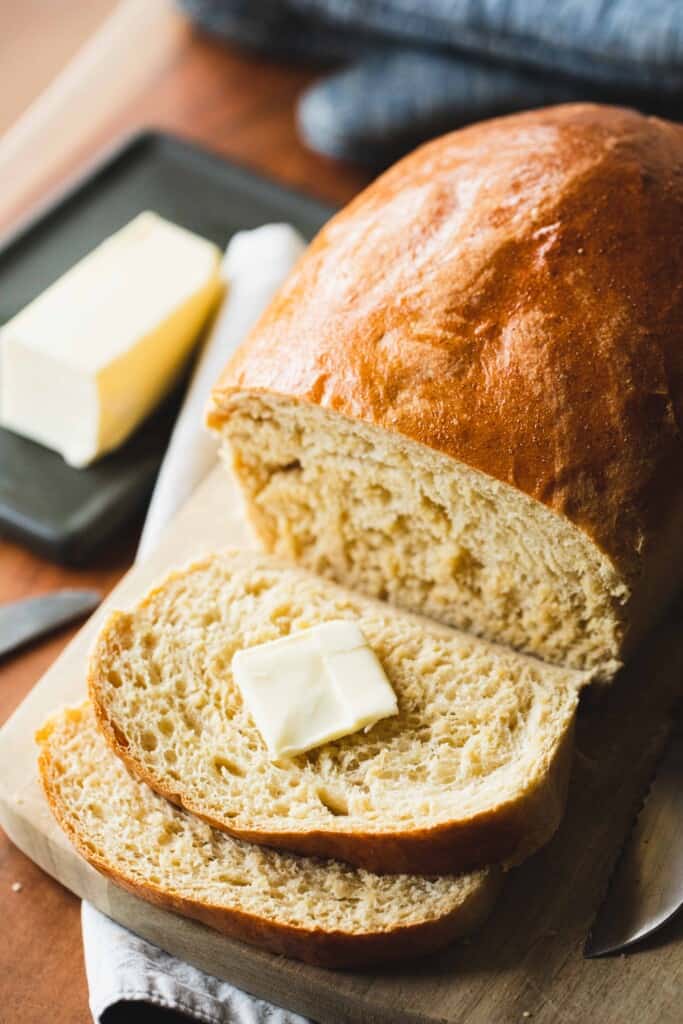
You can freeze your baked bread in an airtight bag or wrapped in foil for up to 3 months. A little friendly tip to consider - pre-slicing homemade sandwich bread before putting it in the freezer will make thawing and enjoying it later even easier!
📋 FAQ's
Do you have to cover bread dough while it rises?
When letting bread rise or proof on the counter you definitely need to make sure you cover it. This helps to keep the top layer of the dough from drying out.
What temperature is best for letting bread rise?
75 to 78 degrees is the ideal environment for bread to rise. If the room is cooler you may want to consider moving the dough outside if it is warm or placing it next to the fireplace or heating unit.
You can also set up a makeshift proofing station by running your oven at 200 degrees with a pan of water in the bottom to create some humidity and the perfect environment for letting your bread rise.
After letting your oven warm up to 200 degrees for two minutes go ahead and turn it off. Place your bowl of dough in the oven with the pan of water still inside and then walk away. Do NOT, do not, open the oven during your rising time. You want to keep all that warm humid air inside.
📖 Recipe

Sandwich Bread
Ingredients
- 600 grams warm water
- 120 grams milk
- ½ cup butter room temperature or melted
- 72 grams sugar or honey
- 3 egg whites
- 21 grams salt
- 25 grams yeast
- 3 tablespoons dough enhancer
- 400 grams wheat flour
- 800 grams all purpose or bread flour
- egg yolk for brushing loaves
Instructions
- In a bowl add warm water, milk, melted butter, sugar/honey (whatever your preference is). Sprinkle yeast over the top of the wet mixture.
- Separate egg yolks and egg whites, adding egg whites to the other wet ingredients in the bowl. (Set egg yolks in the fridge to be used later.)
- Add dough enhancer, salt and flour to mixing bowl and stir till dough starts to come together and begins to get tough to stir. It will still be sticky to the touch.
- Remove dough from mixing bowl and place on a lightly greased counter sprinkled with flour.
- Knead bread dough on counter, slowly sprinkling with flour until dough no longer sticks to counter and forms a smooth ball of dough.
- Spray a bowl with nonstick cooking spray and use hand to make sure entire bowl is coated. Place dough into the greased bowl and spray the top with nonstick cooking spray.
- Tightly cover the bowl with cling wrap and set aside so dough can rise. Usually this takes about an hour depending on how warm the room is.
- While dough is rising, go ahead and butter/grease each of the bread pans to be used.
- Once dough has doubled in size remove cling wrap from the bowl and use your fist to punch down the dough.
- Divide bread dough into equal parts for baking into loaves. (Dividing into three sections of dough will make for larger loaves, and four will make for smaller loaves.)
- Form and shape loaves of bread to fit in greased loaf pans. Allow pans to sit so that dough can rise one final time, (roughly 30 to 45 minutes).
- Once the dough has doubled in size or risen to just above the rim of the bread pans brush the tops with egg yolks. Then place bread pans in the oven and bake at 375°F for 35 minutes.
- Pull bread pans from the oven and remove loaves from pans and allow to cool on wire racks to prevent soggy bottoms.
Video
Notes
- You want to make sure your butter is soft. This is KEY. If you have room temperature butter ready to go use that. If you don't have any pre-softened you can go ahead and melt your butter so it's easy to be mixed in.
- While kneading the dough continue to sprinkle with flour, (it ends up being about a ⅓ to a ½ cup of additional flour by the end).
- Continue to knead and add flour until the magical moment when the dough comes together. It will feel smooth, elastic and a little bouncy. You will know the dough is ready when you press your finger into the top and after a few moments the indention fades or disappears.




We want to hear your thoughts, leave a comment.