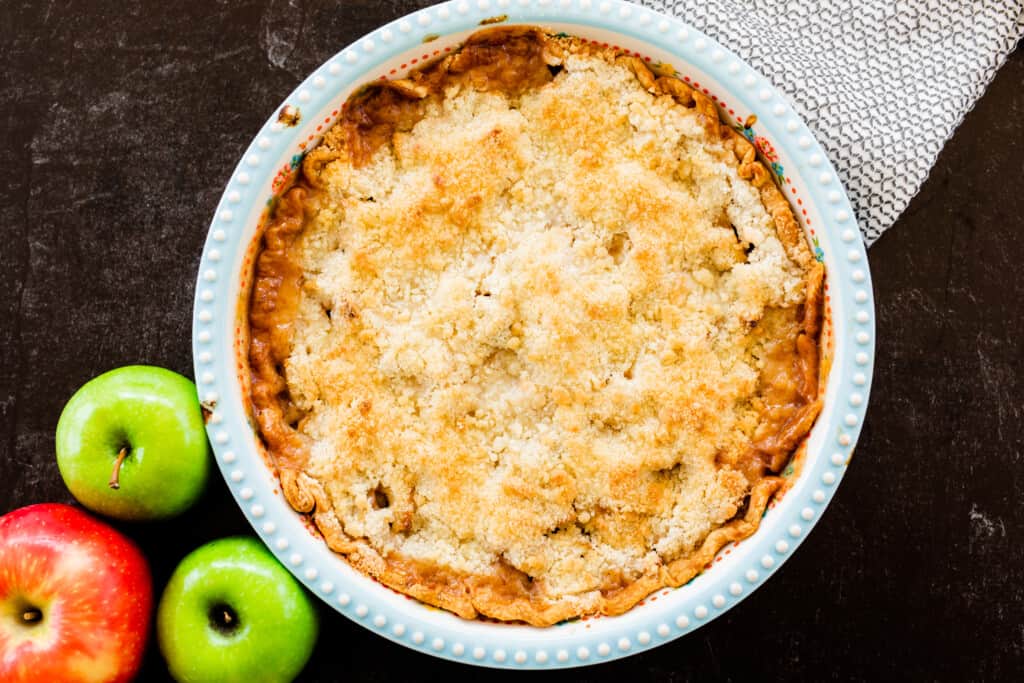
Apple Pie has long been an old fashioned American classic. This family recipe for Dutch Apple Crumb Pie is filled with tart but tender apple chunks wrapped in sweet syrupy goodness sitting on top of a flaky crust and covered with a buttery streusel crumb. This holiday dessert is sure to be a crowd favorite. Serve it up warm with a scoop of vanilla ice-cream and you have a match made in heaven!
Dutch vs. Traditional Apple Pie
This recipe is meant for all the Streusel Topping lovers out there like me! Truly the only difference between your traditional pie and a Dutch Apple Pie is the topping. Dutch Apple or Apple Crumble Pie is simply an apple pie with a crumb or streusel topping as opposed to a pastry crust topping. Call it what you want – Dutch apple pie, apple streusel pie, apple crumb pie … it doesn’t matter because whatever you like to call it is just as yummy.
Best Apples to Use?
There are so many different kinds of apples to choose from so it may get confusing when deciding what will work best for your pie but have no fear, we are here to help you get it all sorted out.
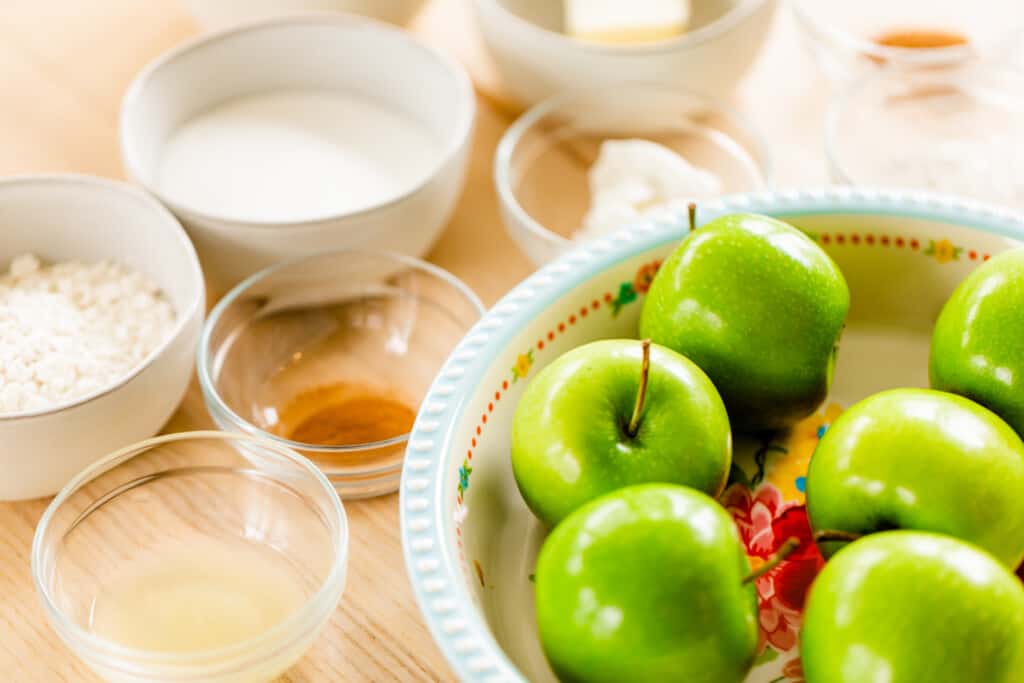
When choosing an apple there are several factors you want to consider, the most important are: flavor, how it stands up to baking, and how much liquid does it release. You can choose one apple variety or mix it up and use two or three types. Honey Crisp, Granny Smith, Gala, Pink Lady, and Braeburn all make for a delicious pie.
To Peel or Not to Peel – That is the Question
This can go either way. Peeling your apples makes for a more tender pie that melds together beautifully. Leaving the skins on your apples adds a bit of extra color and texture. Or you can always take the middle road with us and do a little of both.
No One Likes a Soggy Crust
One of my greatest anxieties with pie making is cutting into it after it has cooked and pulling out a slice of pie with a soggy, limp bottom crust. Pie crust can be such a finicky thing, but I have learned four tips or tricks that may help ease your worries. Hopefully they bring you confidence as it has for me.
Get the Crust Baking Fast
Cooking the crust as quickly as possible lets it set before the apples begin releasing their excess liquids. A set crust is less likely to absorb the excess liquids from the apples.
Before you turn the oven on to pre-heat move your oven rack to the lowest setting so it is closest to the heating element then place an empty baking sheet on the rack to place the pie tin on so that once the pie goes in it has the bottom curst has the most contact possible with heat sources and can start its cook immediately.
Glass Pie Tin
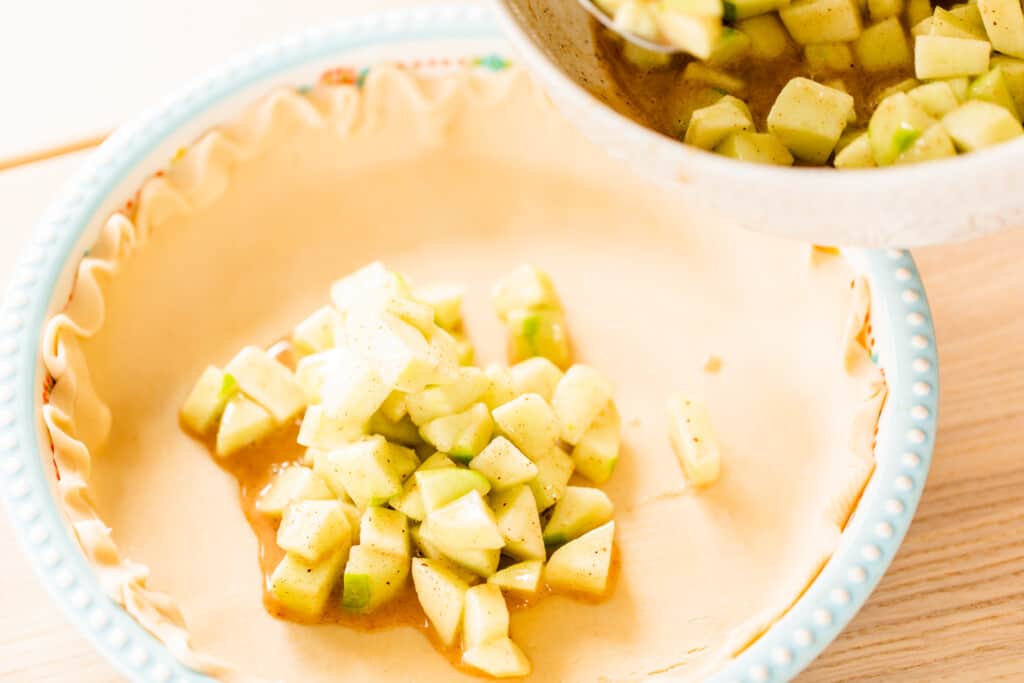
Use a glass pie pan when baking your pie so you can see how cooked or under cooked your crust is.
Remove Excess Liquid from Apples
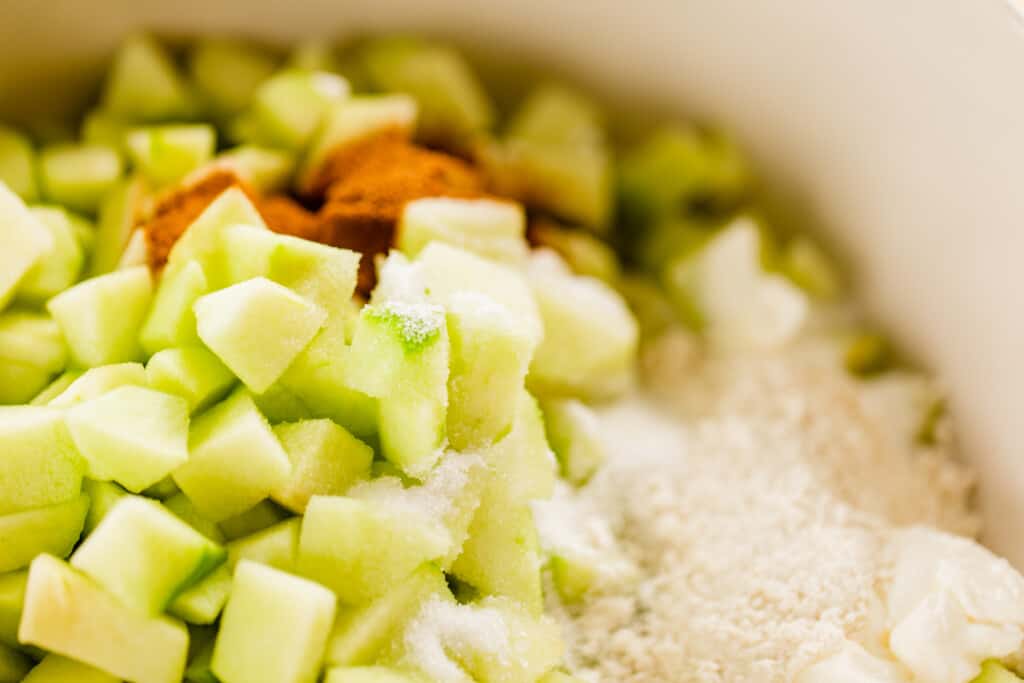
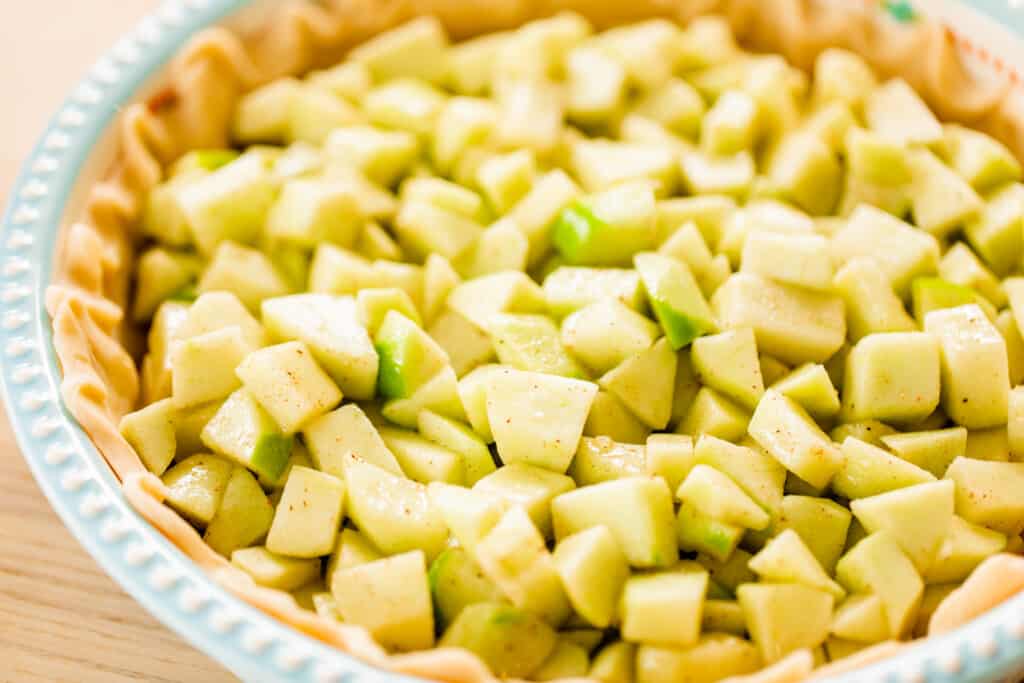
After slicing your apples toss them in a bowl with sugar and allow them to sit. The sugar will cause excess liquids to naturally release. The longer the apples sit the better; one to two hours is best.
Drain off as much of the excess liquid as possible and pat apples dry with a paper towel. You can toss the excess liquid or save it to boil down into a syrup to drizzle over your slice of pie or pour over apples before adding the topping to bake. Use a slotted spoon when removing the apple slices to help take out any of the excess moisture.
Don't be Afraid to Let it Bake
It is honestly pretty hard to over bake an apple pie, the only thing you have to be careful about it not over cooking the crust. Most people tell you your pie is done when the crust is brown and you see juices bubbling. Those are good suggestions but I disagree. After you those first signs of bubbling juices - wait, be patient. Let the pie continue to cook and bubble for at least another 6 to 10 minutes so the fruit finishes cooking giving the liquid inside a little more time to evaporate leaving a thick yummy syrup.
Pro Chef – Mom Hack
After you pull your pie from the oven let it rest and come down closer to room temperature before serving. This give the juices and syrup inside time to cool and gel together. Your patience will be rewarded. Tender bites of apple wrapped in just the right amount of ooey-gooey syrupy filling.
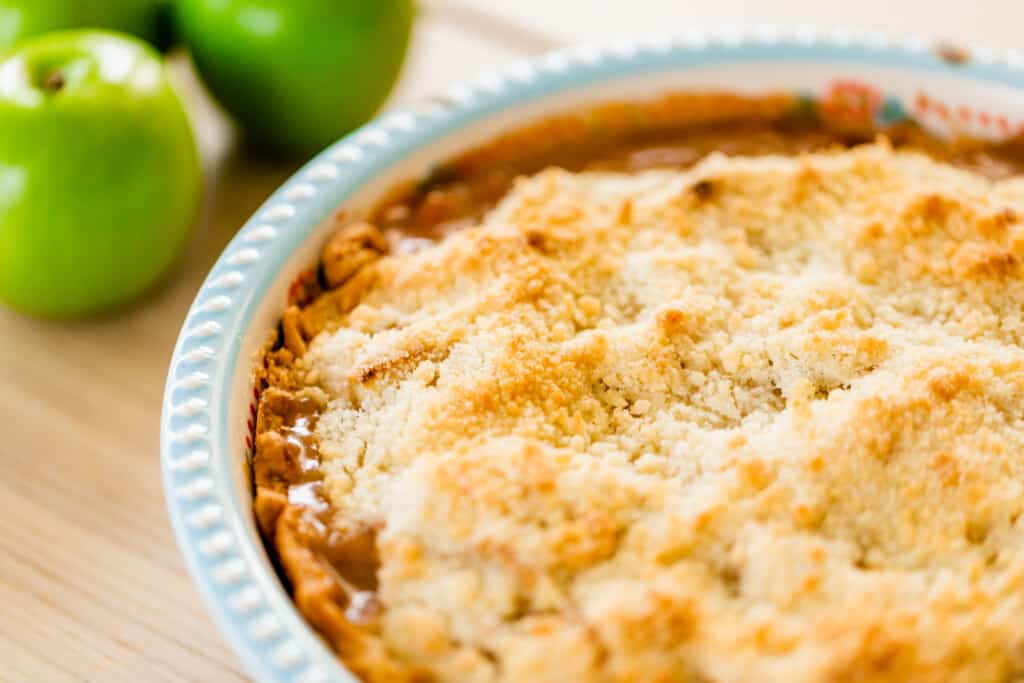
Remove the pie from the oven when done and allow to come to room temperature before slicing so that all the juices have a chance to gel together before serving.
📖 Recipe

Dutch Apple Crumb Pie
Ingredients
- 1 pre-made pie crust
Pie Filling
- 6 medium tart apples
- ¼ cup sugar for tossing apples
- 2 tablespoons butter
- 2 tablespoons sour cream
- 4 teaspoons lemon juice
- 1 tablespoon all-purpose flour
- ½ cup sugar
- ½ teaspoon cinnamon
- ½ teaspoon ground nutmeg
Crumb Topping
- ½ cup all-purpose flour
- ½ cup sugar
- ¼ cup cold butter
Instructions
- Peel skins and remove core of each apple. Once prepared thinly slice apples with a mandolin for accuracy. Or if done by hand try to ensure they are same thicknes for even cook.6 medium tart apples
- Toss apples with sugar and let sit so juices can be drawn out. The longer they can sit the better.¼ cup sugar
- Pre-heat oven to 375℉ and move rack to lowest setting so it is closest to heating element. Place cookie sheet on this rack so it can heat while oven does.
- Line a 9 inch pie plate with refrigerated pie pastry dough or homemade crust. Crimp or flute edges. Set aside.
- Use a slotted spoon to remove apples from excess liquid and pat dry. In second bowl combine apples, butter, sour cream, lemon juice, sugar, flour, cinnamon and nutmeg in a bowl. Spoon filling into pie crust.2 tablespoons butter, 2 tablespoons sour cream, 4 teaspoons lemon juice, 1 tablespoon all-purpose flour, ½ cup sugar, ½ teaspoon cinnamon, ½ teaspoon ground nutmeg
- In a seperate bowl combine flour and sugar. Once mixed cut in the butter using a fork until the mixture resembles coarse crumbs or clumpy sand.½ cup all-purpose flour, ½ cup sugar, ¼ cup cold butter
- When you can no longer see the butter and obtained the right texture sprinkle the crumb topping over the entire pie filling.
- Bake pie at 375℉ for 45-50 minutes or until the filling is bubbly and apples are tender. Once you notice bubbling let the pie cook for an additional 6 minutes.
- After removing from the oven allow pie to cool on a wire rack so pie can come closer to room temperature and juices can gel together before serving.
Nutrition
DID YOU MAKE THIS RECIPE?
If you make anything from The Dashley’s Kitchen we want to see it! Don’t forget to rate this recipe, leave a comment below and then take a picture and tag @thedashleyskitchen or #thedashleyskitchen on Instagram so we can see your culinary victory and hear your thoughts.
Also, follow along with us on our food journey on The Dashley's Kitchen Pinterest, Facebook, Instagram and YouTube for more recipe and meal inspiration!
Did you know in addition to our passion for cooking and baking we are bloggers? To catch a glimpse into our everyday life, follow along with our family here on Instagram, Facebook and YouTube.
WE HAVE A FAMILY VLOG!
Did you know we have a family vlog? It is actually our beginnings. Before we ever took a step in the kitchen to share our first recipe, we shared our family through videos.

And it grew and grew. As we would cook a meal or try a recipe on the vlog people would reach out, asking for recipe after recipe. And eventually The Dashley’s Kitchen was born!
Through this journey we have been blessed with many opportunities and to make countless friends all over the world. In our more recent vlogs we share our current journey in working on adding a third baby to our family. If you want to see more, visit us on YouTube here! Come on, Let's Go!



Samantha says
Love a good apple pie, but don't always love how much work they are. This recipe though was so super easy to make and man oh man was it delicious!! Thank you for sharing.