
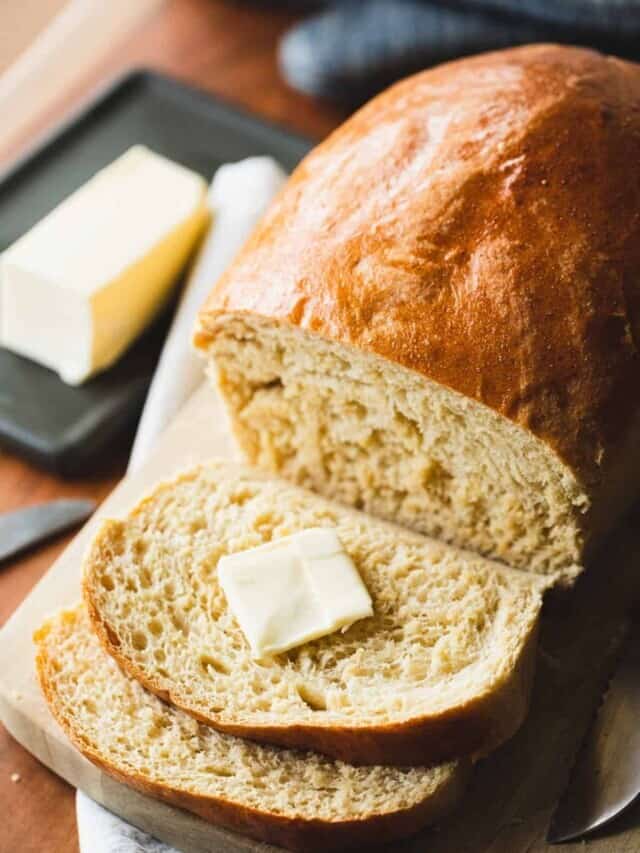
Unbelievably easy to make, Coconut Syrup is the perfect balance of sweet creaminess and warm tropical flavors. Thick and sweet you'll want to pour it on all the things. This topping is the perfect way to add a fun island twist to any breakfast, brunch, or dessert.

With warm notes of vanilla, a hint of coconut and it's buttery soft texture everyone is sure to want this syrup again and again. Luscious and silky-smooth it is so much tastier than store bought syrup.
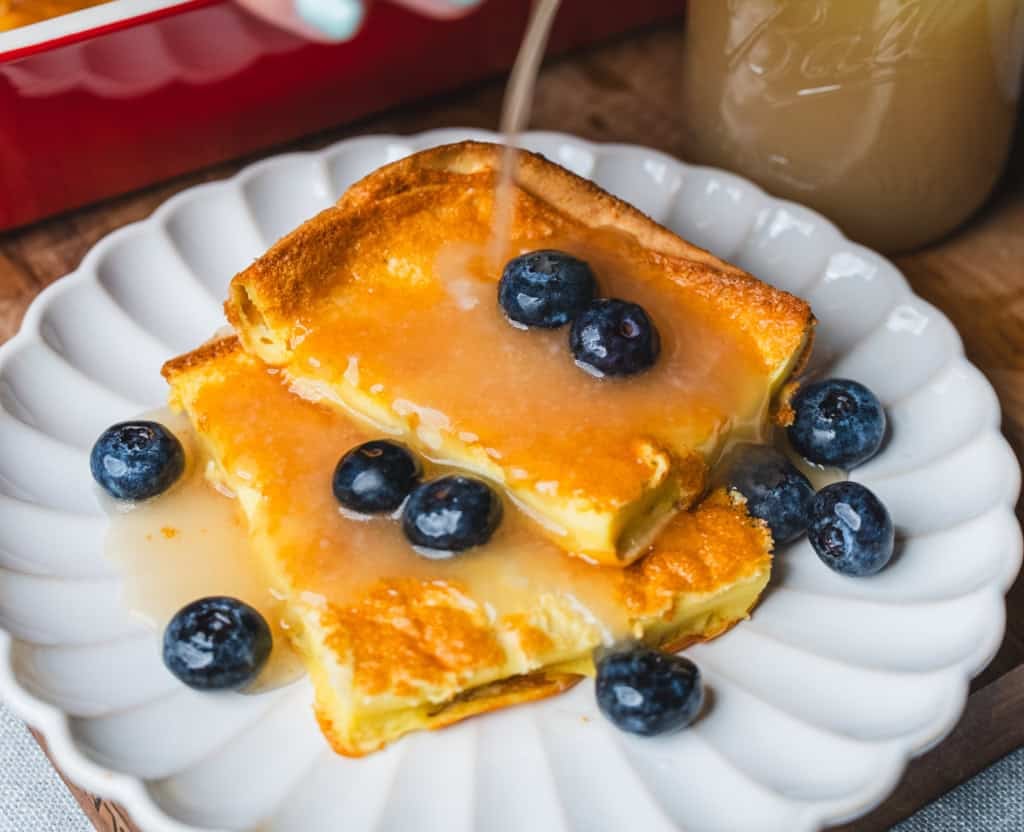
Perfect for enjoying over pancakes, waffles, French toast, German Pancakes, crepes or ice-cream Coconut Syrup is here to stay. And between our Blonde Butter sauce, Brown Sugar and homemade Coconut Syrups we are here to change the breakfast game!
However, if looking for more of a savory breakfast to round out the meal give Breakfast Pizza, Breakfast Enchiladas, or Amish Breakfast Casserole a try.
🥫 Ingredients
With four simple ingredients and a little stirring coconut syrup comes together in just a matter of minutes. No fancy techniques or components needed.

- Salted Butter
- Sugar
- Coconut Milk
- Vanilla
- Baking Soda
(Scroll down to the recipe card for exact measurements and full printable instructions.)
🥣 Step-by-Step Instructions
Firstly to prepare your Coconut Syrup, add the salted butter and sugar to a sauce pan over medium-high heat. Then give your can of coconut milk a good shake, measure the milk and add to the mixture.
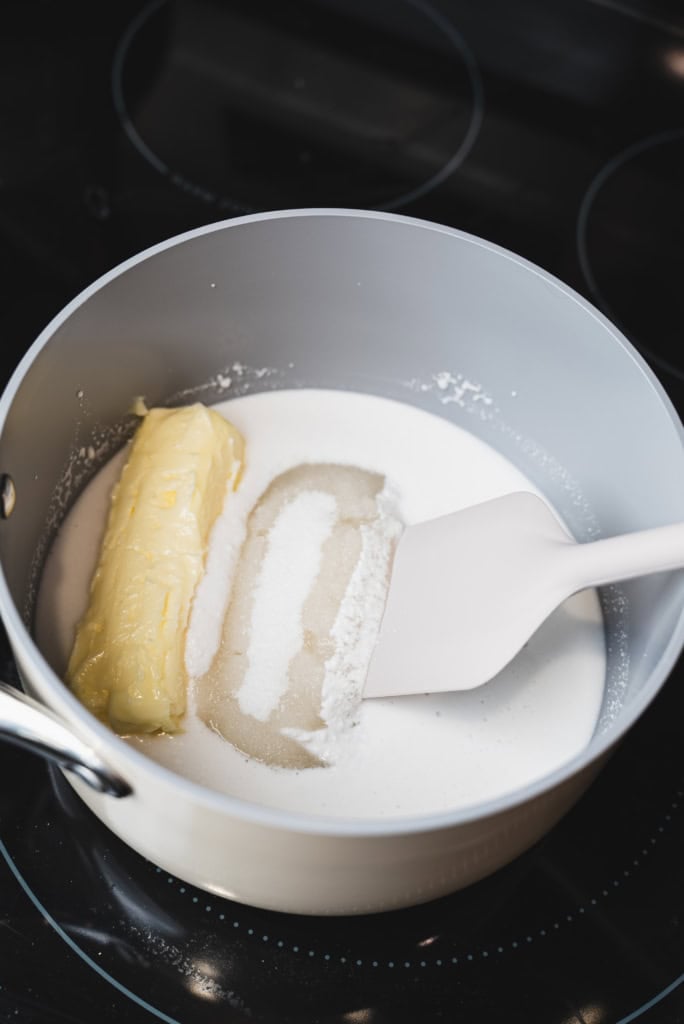
Stir everything together until the sugar has fully dissolved and the syrup comes to a boil. Allow the syrup to boil for one full minute. Then remove your pan from the heat. This is important! You want to be careful not to boil the syrup for too long otherwise it will begin to crystalize.
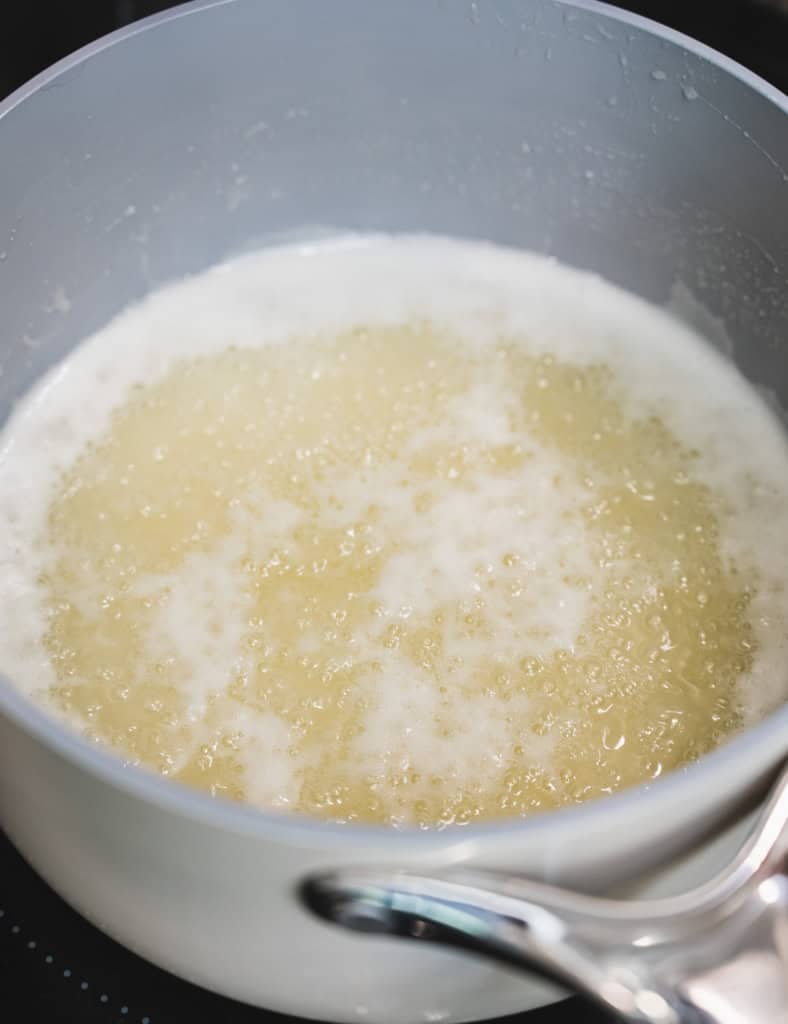
Afterwards add the vanilla and baking soda to the mixture. Stir everything together and watch for the magic to happen. The syrup will foam up and double in size. My kids love to watch the baking soda reaction here.

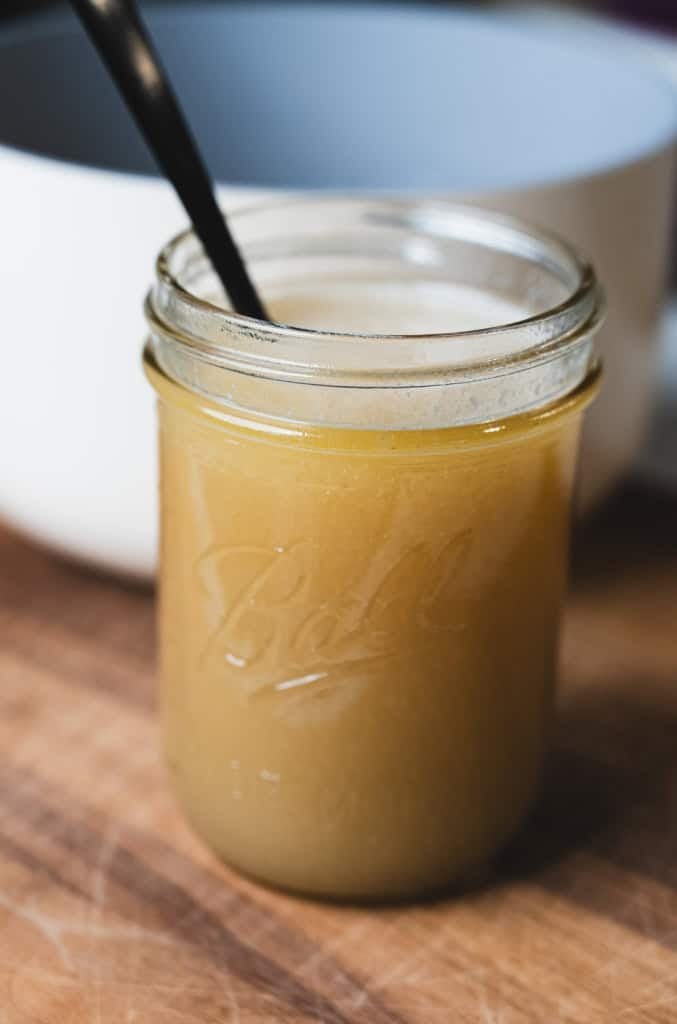
Give your Coconut Syrup a final stir and enjoy it warm! Remember your Coconut Syrup will thicken as it continues to cool down. If you prefer a thicker syrup allow it to cool a few minutes before serving.
💭 Top Tips
Heat: As mentioned, be careful when making your homemade Coconut Syrup to not keep it on the heat for too long, otherwise it will begin to crystalize.
Doubling: This recipe is great for doubling! For a sweet and simple homemade gift, try pouring it into little jars to share with friends. They are sure to love it's silky-smooth texture and sweet tropical flavor.


🍽 Storing
Any leftover syrup should be refrigerated. If looking for a cute and sensible syrup dispenser check this one out! I love that you can warm the syrup right up there in the dispenser.
Coconut Syrup will keep in the fridge for just over a week. When ready to serve again, pull from fridge and let warm over low heat on the stove or in 15 second intervals in the microwave stirring between and enjoy!

Keep in mind the butter might separate a little when cooled. But don't worry, just reheat and stir together to continue enjoying.
You can also freeze your homemade coconut syrup in an airtight container if you want to keep it longer. If frozen the syrup will last for up to 6 months. When you are ready to use it just pull it out and thaw to then warm over low heat.
📖 Recipe

Coconut Breakfast Syrup
Ingredients
- ½ cup salted butter
- 1 cup sugar
- ¾ cup coconut milk
- ½ teaspoon baking soda
- 1 teaspoon vanilla extract
Instructions
- Add salted butter and sugar to a pot on the stove over medium heat.
- Shake can of coconut milk well. Measure and add milk to pot. Stir everything together until the sugar has fully dissolved and the syrup comes to a boil. Once boiling allow the syrup to simmer for 1 minute.
- Remove the pot from the heat and add baking soda and vanilla extract to the mixture. Stir everything together.
- Allow the syrup to cool and thicken just a bit. Serve warm and enjoy!
- If you've tried this recipe, come back and let us know how it was in the comments or by leaving us a star rating. Happy cooking!
Video
If you've tried this recipe, come back and let us know how it was in the comments or by leaving us a star rating. Happy cooking!
Jenn says
I made this dairy free and it was so easy and delicious! 🤤